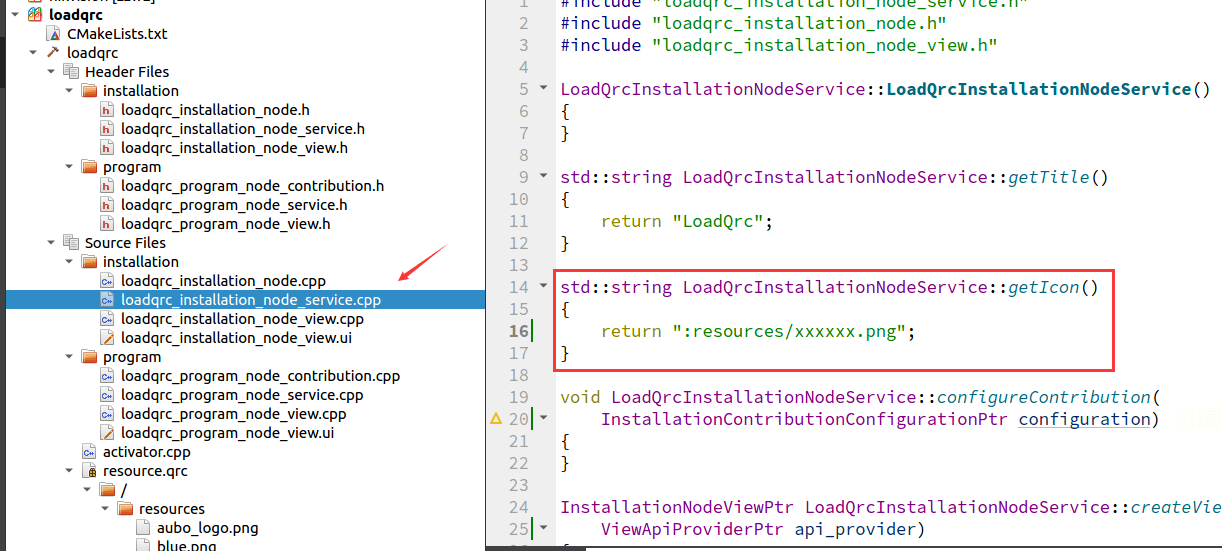
Resource Loading
Plugin Resource Loading with qrc
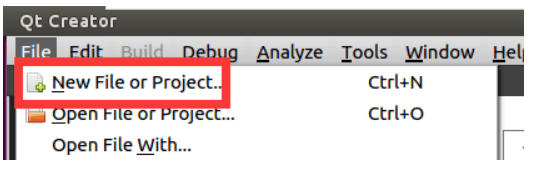
Open Qt Creator and load a plugin project. Click on the top menu bar "File > New File or Project".
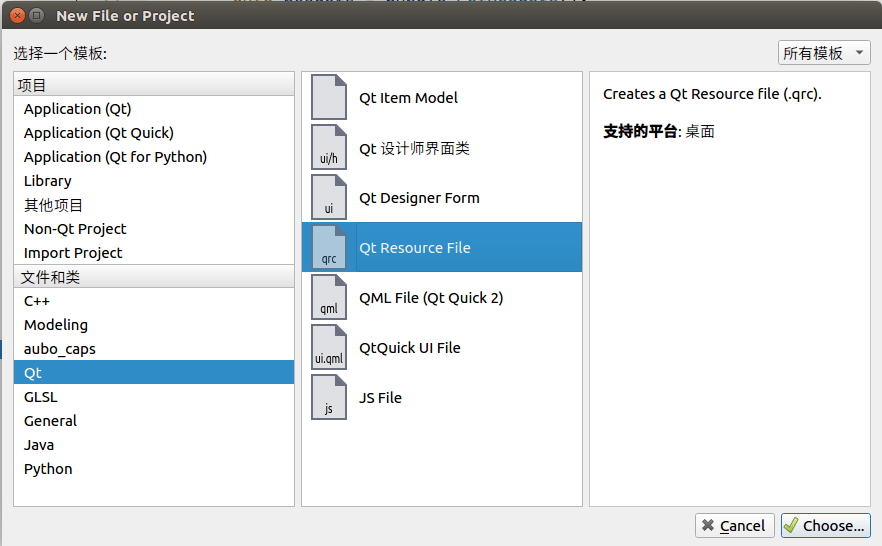
In the pop-up wizard, click "Qt > Qt Resource File".
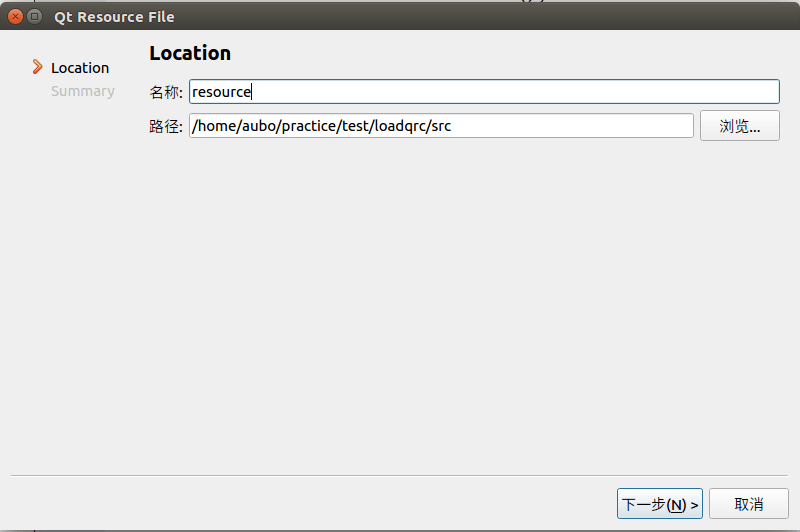
Set the name of the resource file, choose the save path for the resource file, and click [Next].
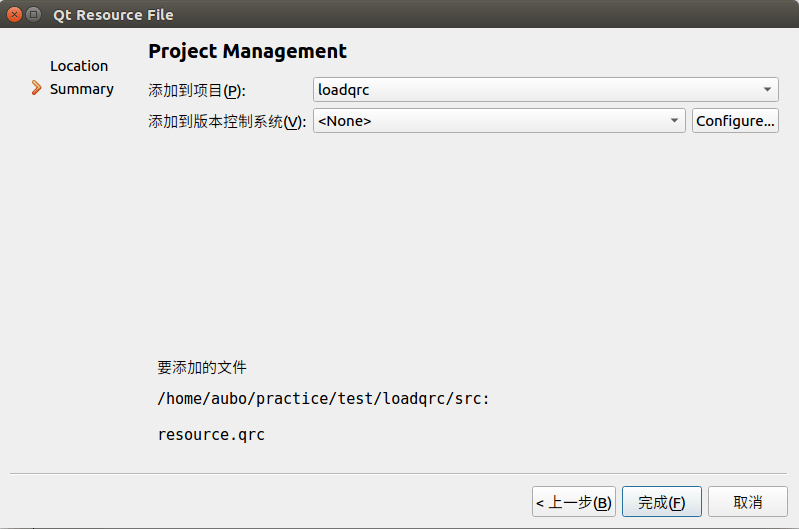
Select the items to be added and click [Finish].
Click [Add Prefix], modify the prefix as needed. In this example, use
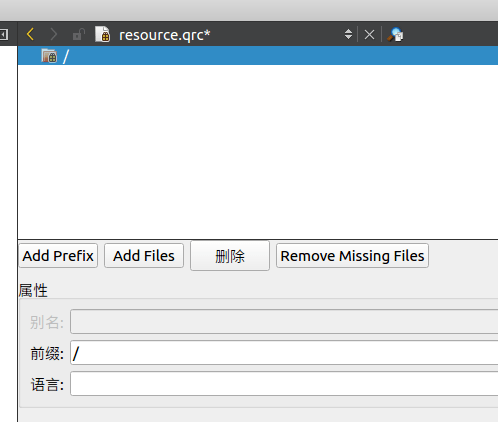
/directly.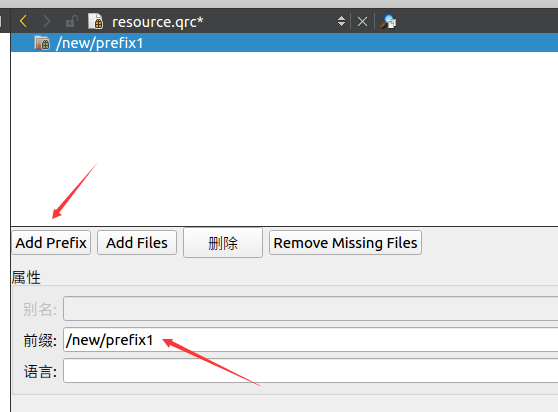
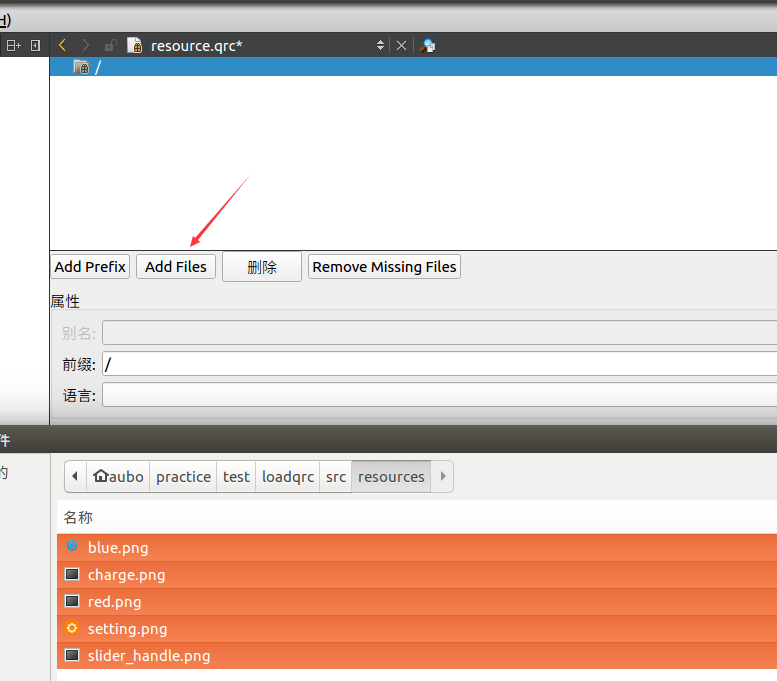
Click [Add Files] to add the required images, then press [Ctrl+S] to save.
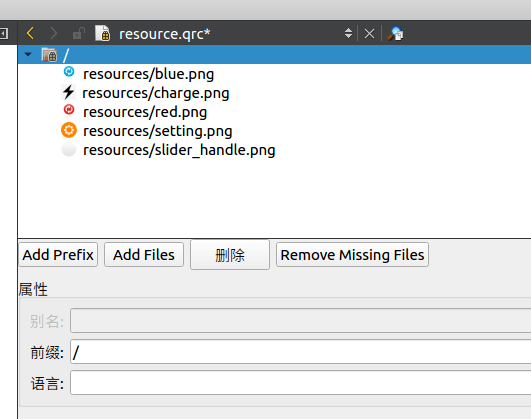
Add the qrc resource file to the [CMakeLists.txt] file by entering the following code:
add_library(loadqrc SHARED ${_srcs} ${program_src} ${install_src} src/activator.cpp src/resource.qrc)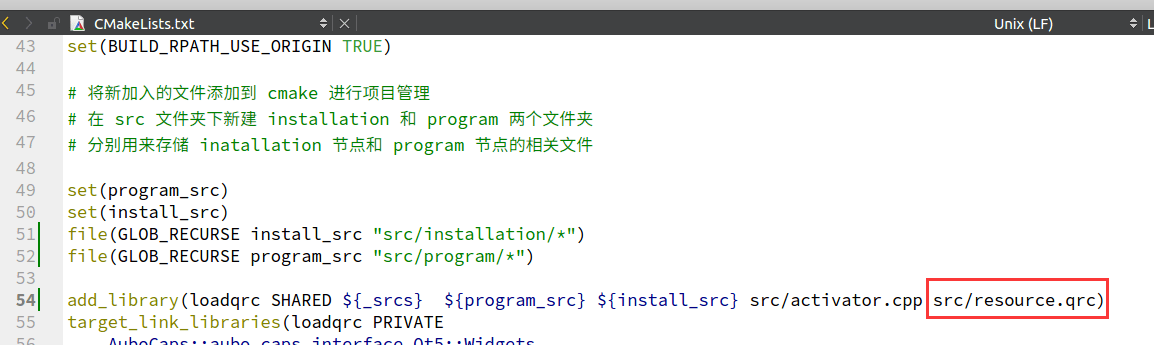
Execute CMake and build the project. Once completed, you will see the added resource images in the current project.
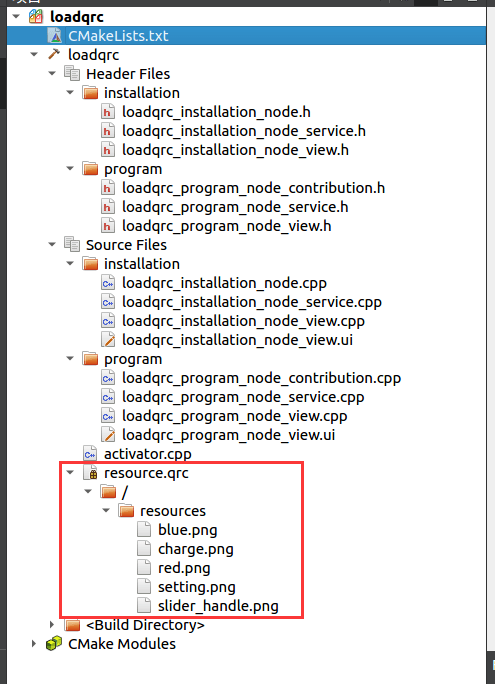
Example
Below is an example demonstrating how to display an image on the installation interface by adding a Label control to the installation node UI:
Add a Label control to the installation node UI interface.
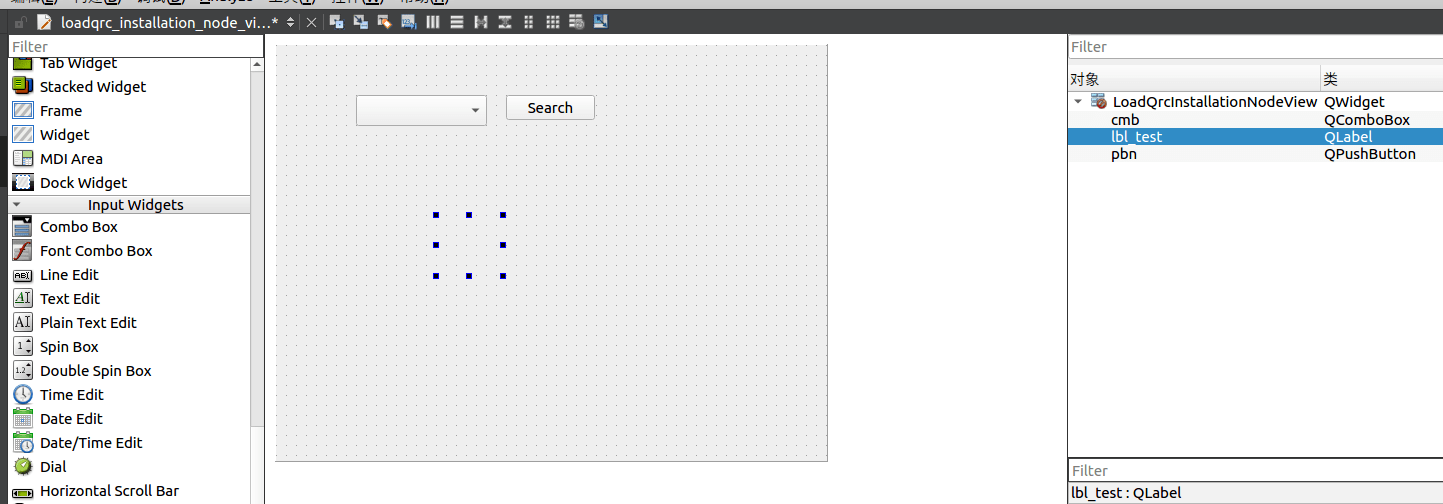
Write the following code in the red box area within the installation node
install_node_view.cpp:QPixmap px; px.load(":/resources/red.png"); ui->lbl_test->setPixmap(px);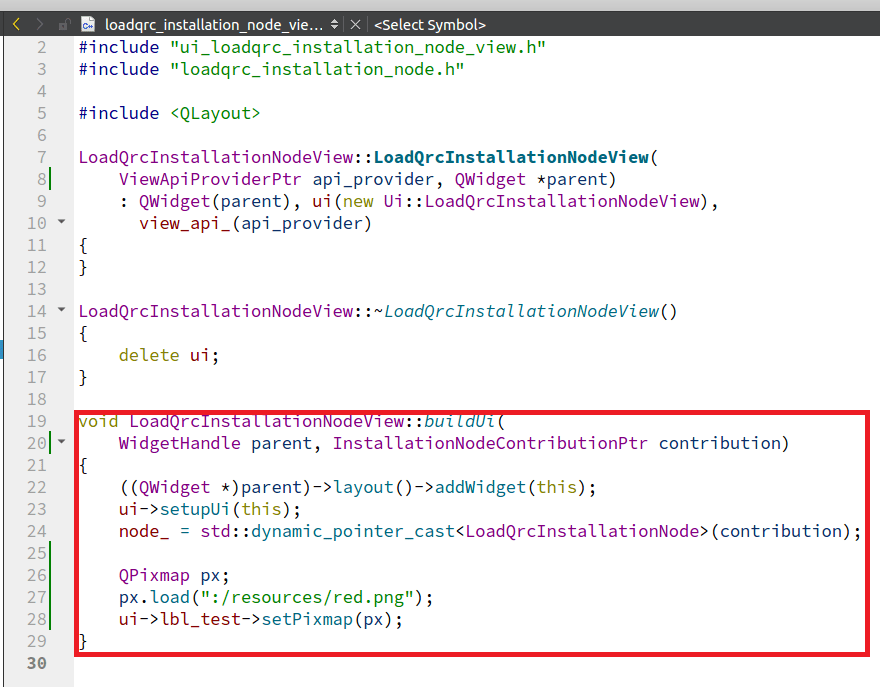
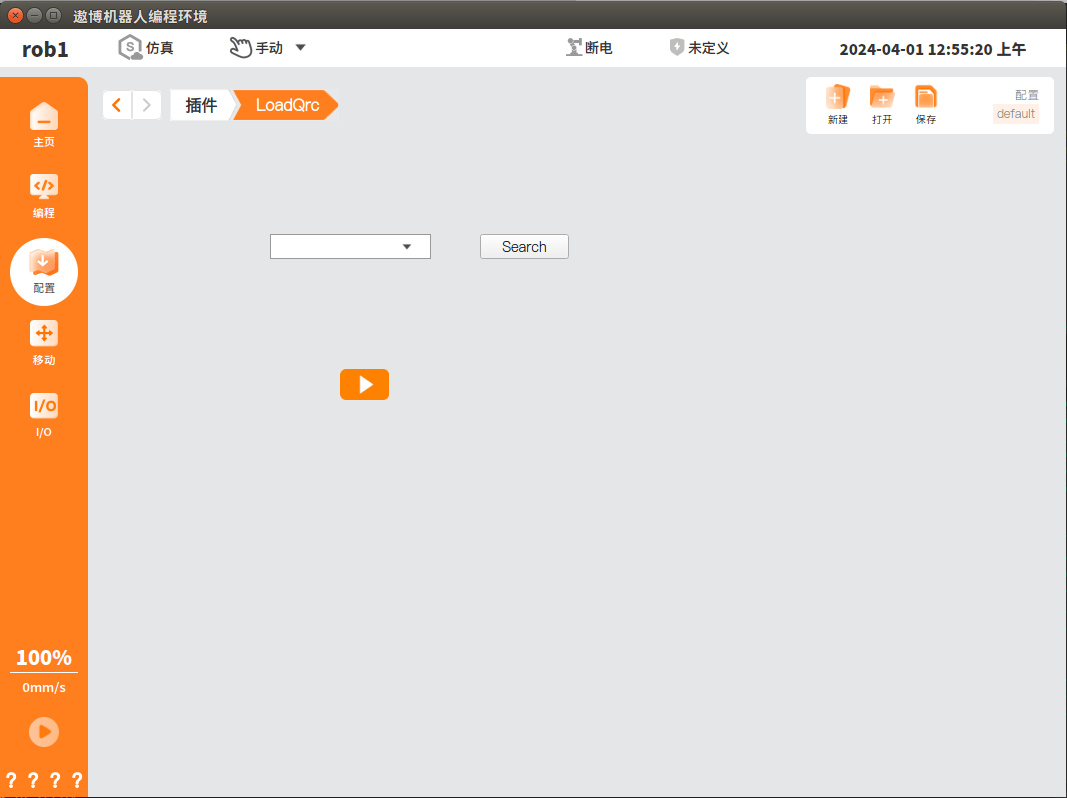
Package the plugin and load it into AuboStudio to view the inserted image. For plugin packaging and loading operations, please refer to Development Process.
Resource File Management
Resource files are stored in the resources folder, with resource.qrc serving as the qrc resource file.

The directory structure under the src folder is shown below.
./src
	|
	+--installation(installation node source code)
	|
	+--program(program node source code)
	|
	+--resources(resource folder for storing images and image names)
	|
	+-activator.cpp
	|
	+-resource.qrc(qrc resource file)
Modifying the Program Node LOGO
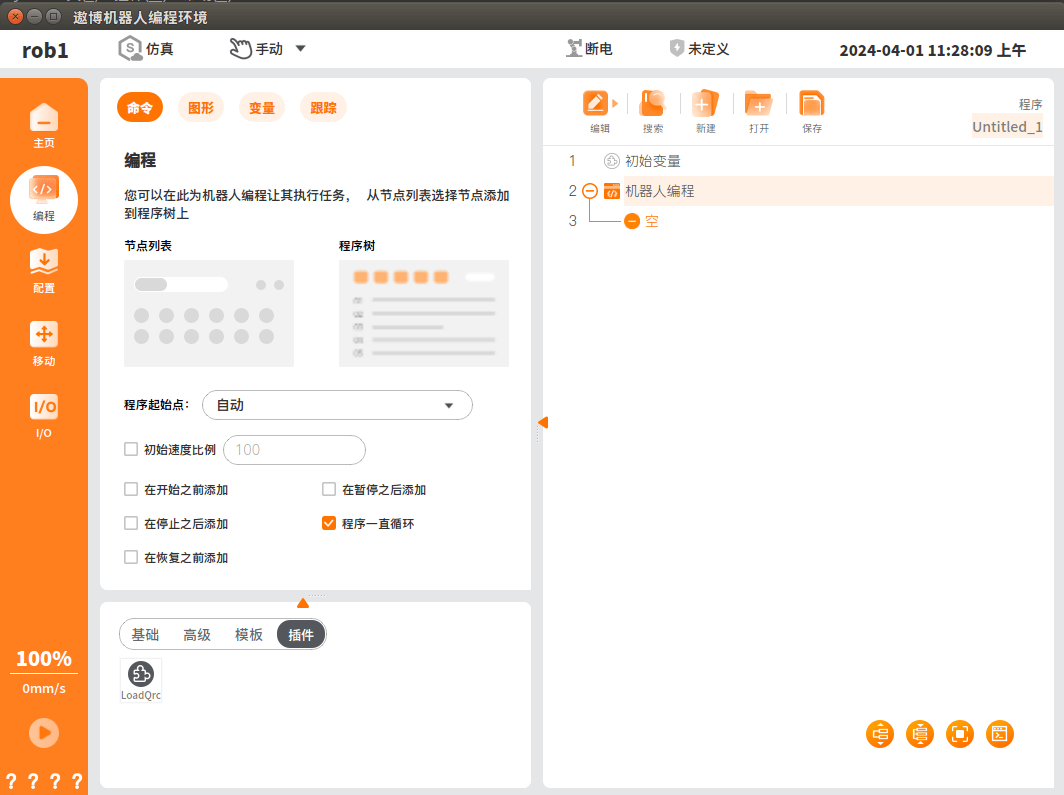
Newly added plugins do not display a LOGO image in the program node and show the plugin name by default, as shown in the figure below.
Follow these steps to set up the installation/program node LOGO:
Right-click the resource management file [resource.qrc], select [Add Existing Files...], and load the LOGO image into [resource.qrc]. The LOGO image filename used here is "setting.png".
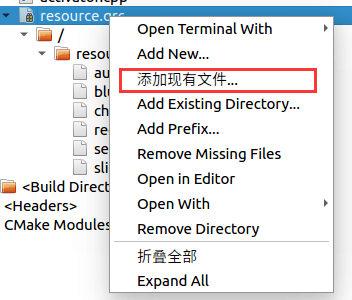
To modify the program node LOGO, open the "loadqrc_program_node_service.cpp" file and locate the following code section.
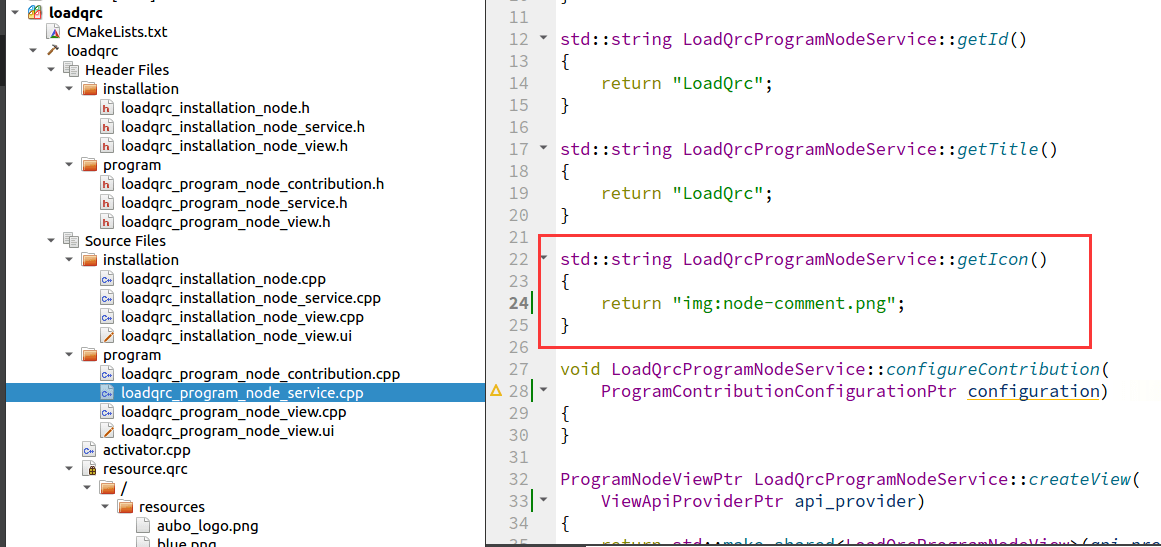
Modify the LOGO path in the
resource.qrcfile within the program.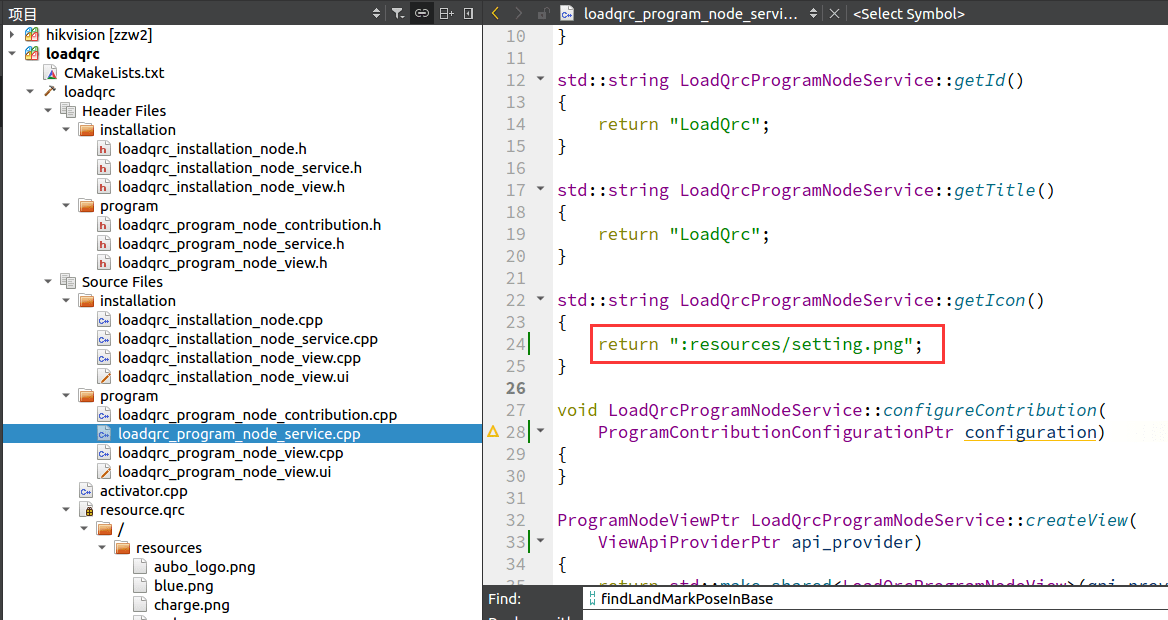
Package the current project using
./deploy, load it in aubo_scope, and you will be able to see the program node logo.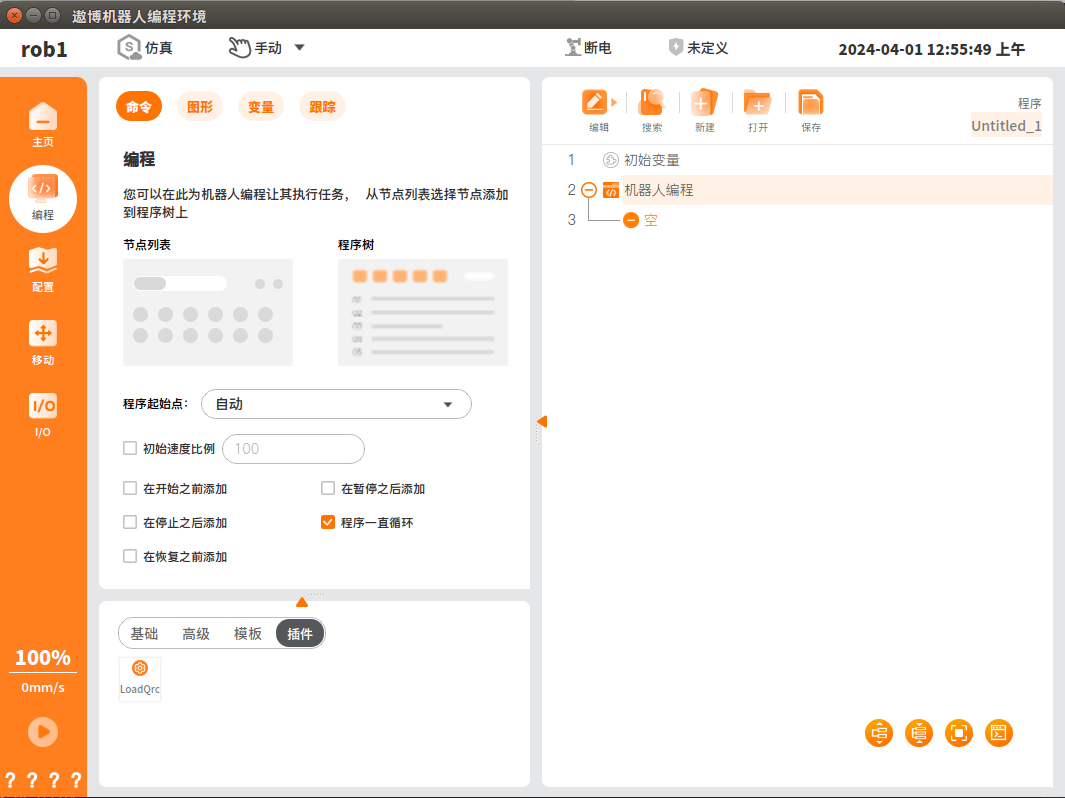
Modify Installation Node LOGO
Modify the icon LOGO path location in installation_node_service.cpp: