
Preferences
The [Preferences] settings provide users with personal system settings, which can be set according to users' own needs.
Basic settings teach pendant only
In the [Basic Settings] page, you can set the language, unit, date, etc.
Info
The settings of this interface can take effect only after the system is restarted.
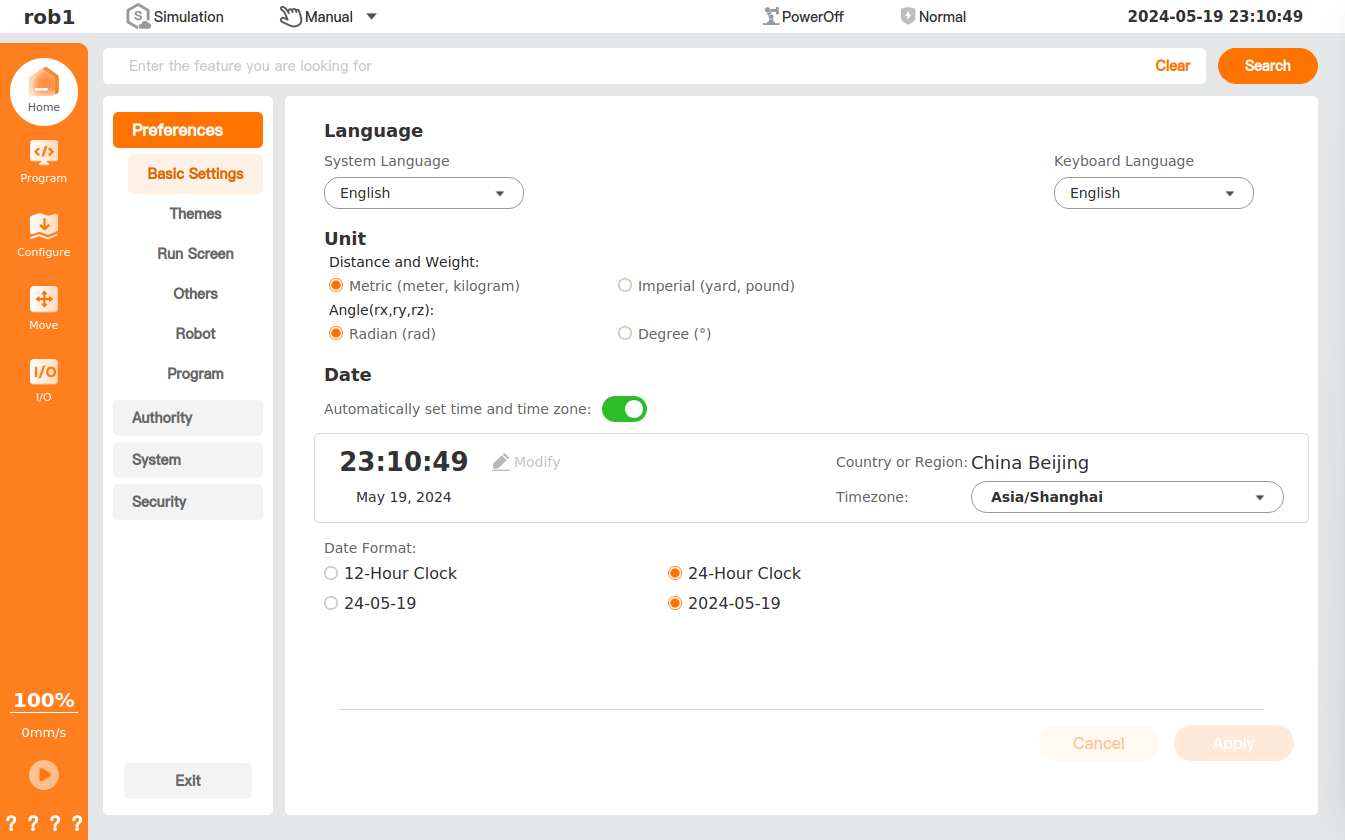
Language: Users can set system language and key board language.
- System Language: Allows users to set the system language. This feature supports Czech, English, Japanese, Korean, Russian, Simplified Chinese, and Traditional Chinese.
- Keyboard Language: Allows users to set the keyboard language. This feature supports Chinese and English.
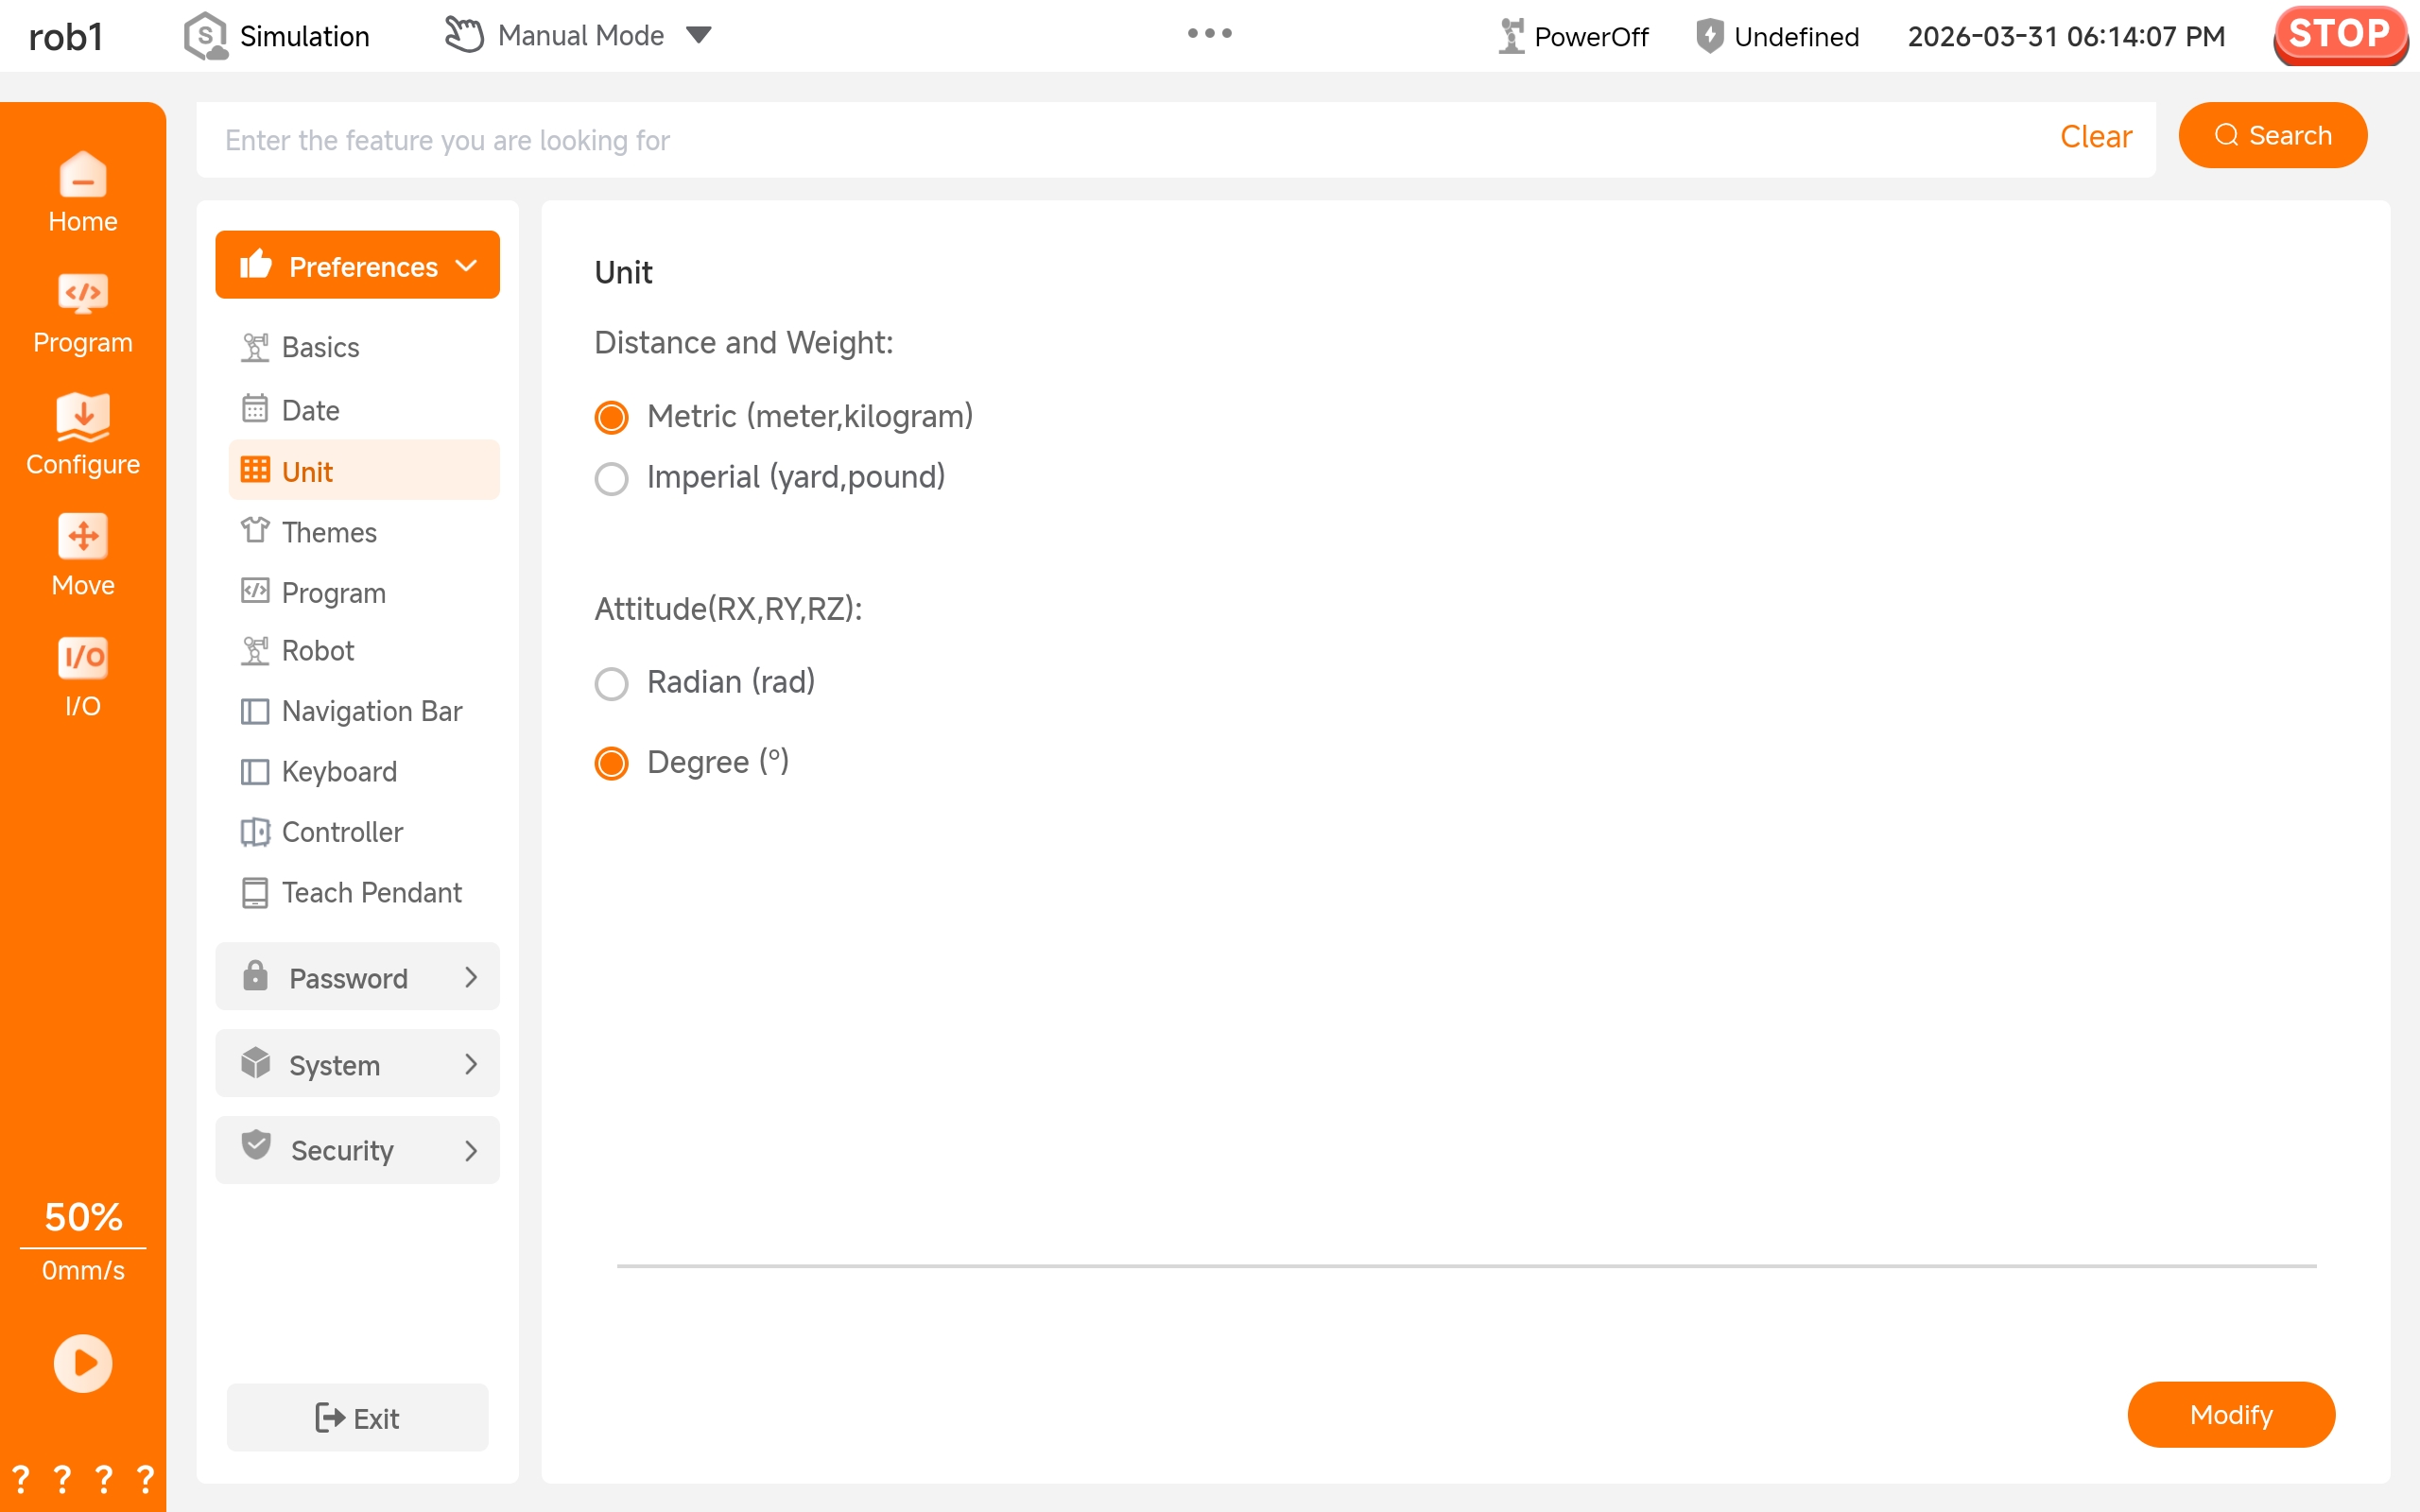
Unit: Users can set the units of the system.
Date: Users can set the time and date format.
- Time: AuboStudio supports two modes: System time and custom time. Select whether to follow the system time through

 . If you do not want to set time to follow the system time, please click [Modify]
 .png) to custom the time.
to custom the time.
- Time: AuboStudio supports two modes: System time and custom time. Select whether to follow the system time through
Apply: The settings are applied.
Cancel: The settings are canceled.
Basic Android only
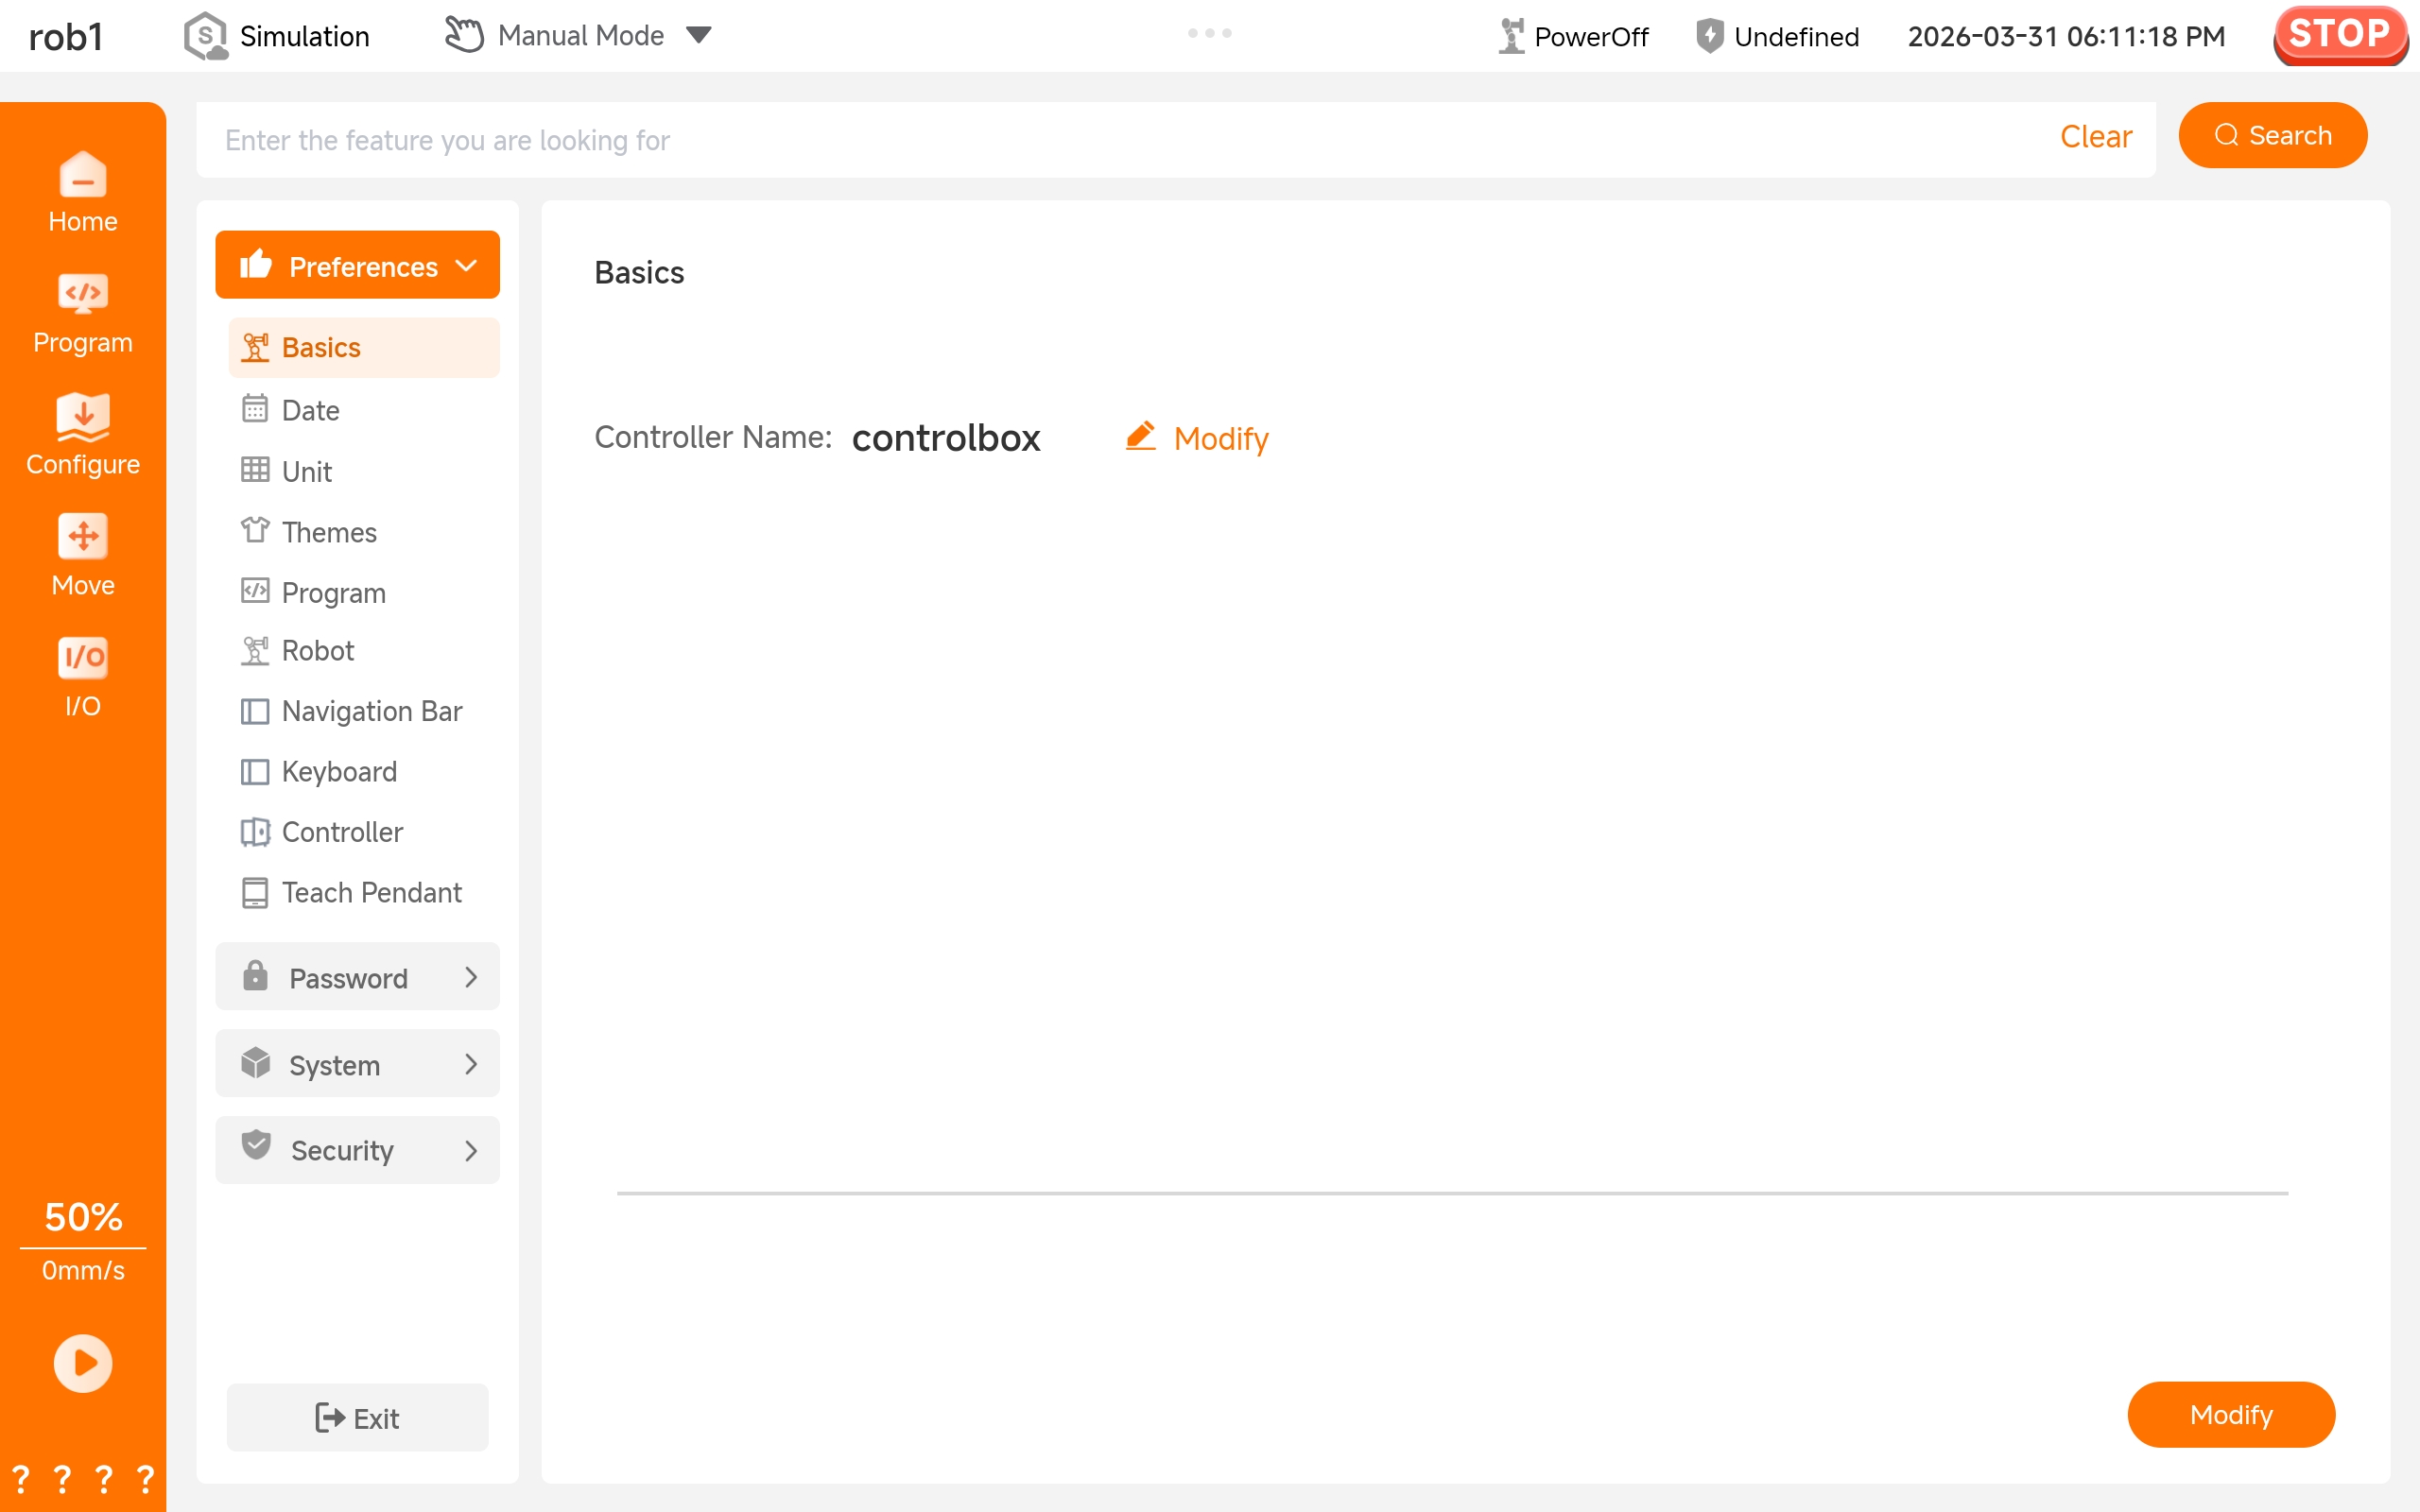
The [Basic] function allows users to set the name of the currently connected controller. Click [Modify] to make it take effect.
Language Android only
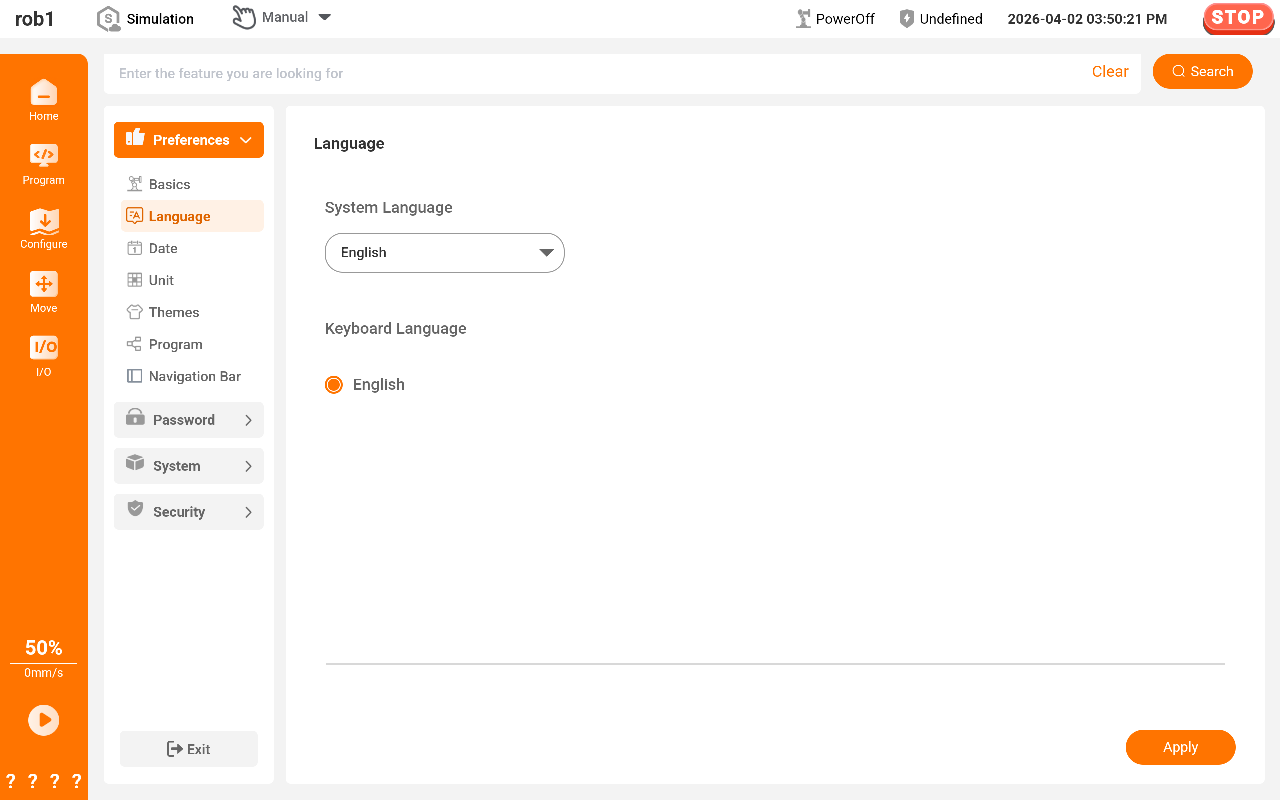
The [Language] function allows users to set the language of the system and keyboard.
Date Android only
The [Date] function allows users to set the time and date format. AuboStudio supports two modes: System time and custom time.
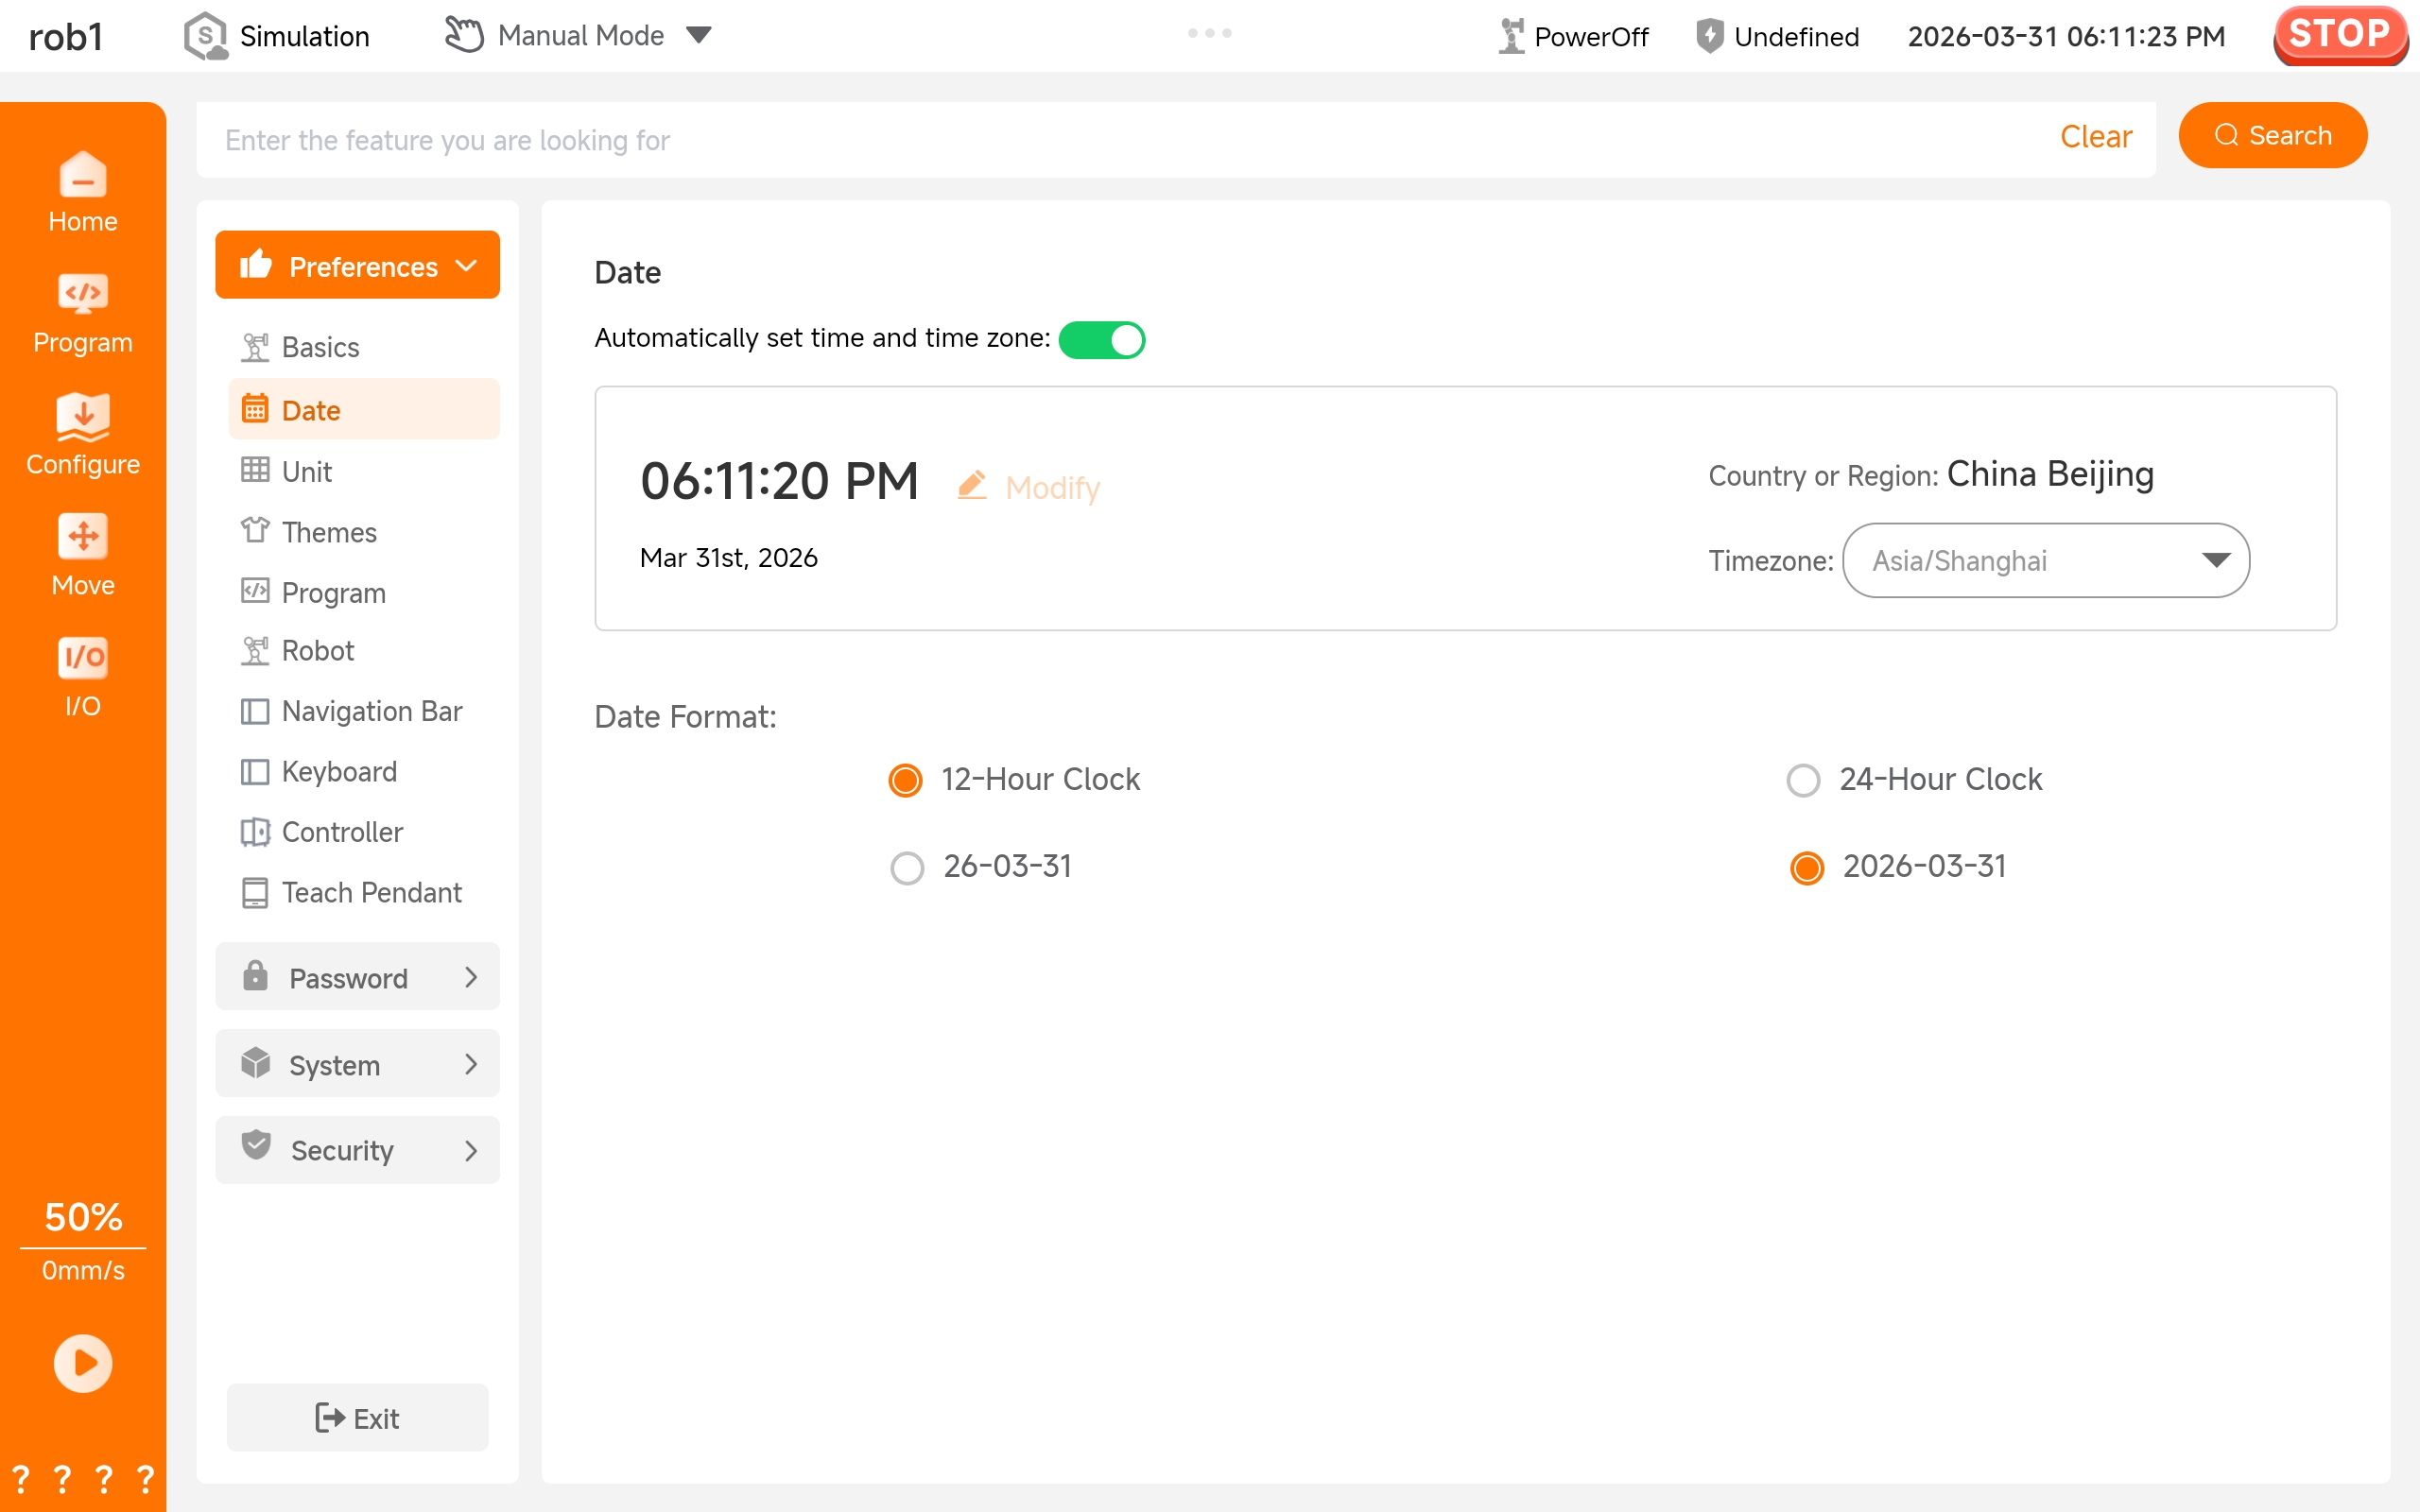
- <img class="inline-img" src="/icon/turn_off_icon@2x.png" /: Select whether to follow the system time. If not, click [Modify] to custom the time.
- Date format: Set the display format of the Date status bar.
Unit Android only
The [Unit] function allows users to set the units of the system.
Theme
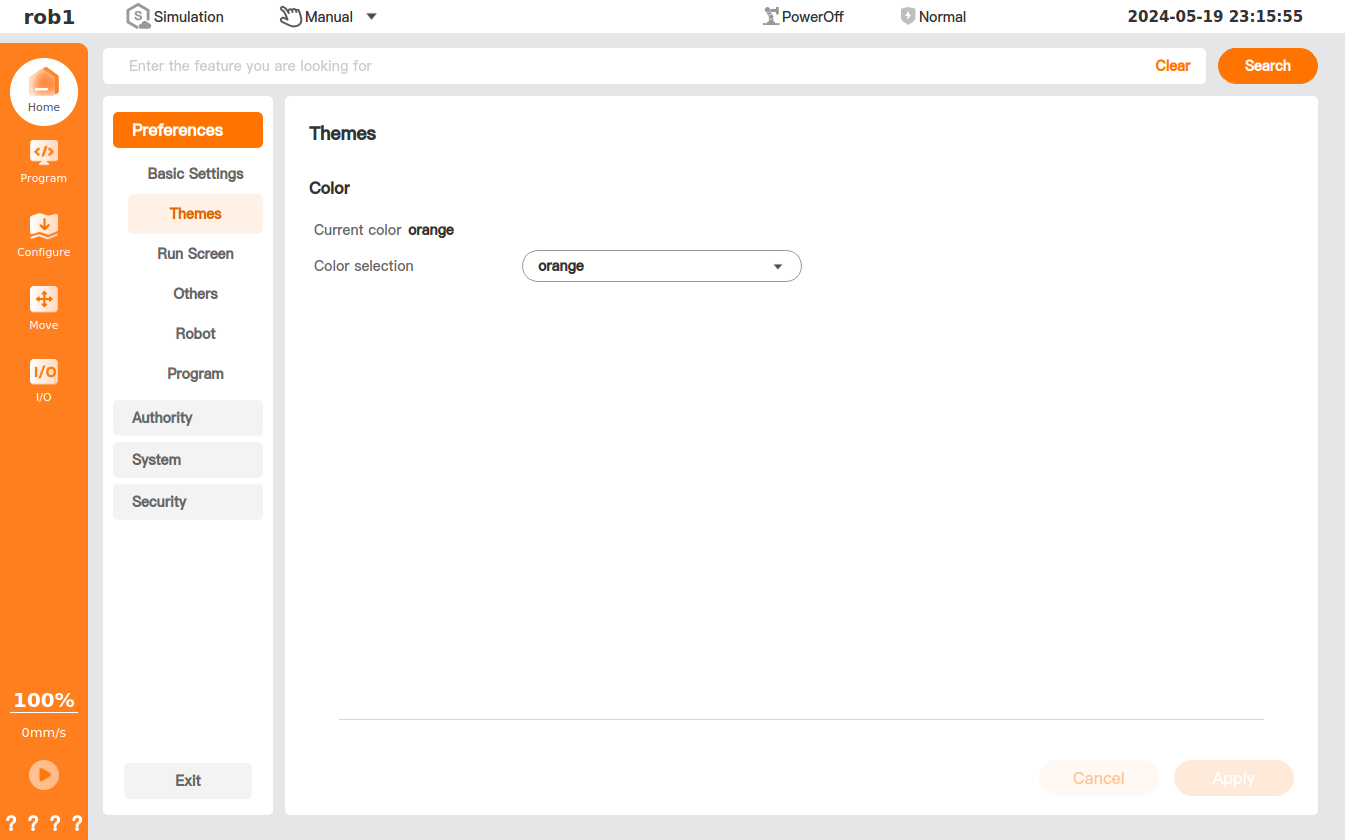
In the [Theme] page, users can set the theme of the software interface.
Info
The settings of this interface can take effect only after the system is restarted.
Run screen
In [Run Screen] page, users can turn on or off the movement speed slider of [Speed].
In automatic mode, if this function is turned on, click [Speed]  at the bottom of the left menu bar; the movement speed slider will appear. If this function is turned off, the movement speed slider will not appear, i.e., the movement speed cannot be adjusted.

Program
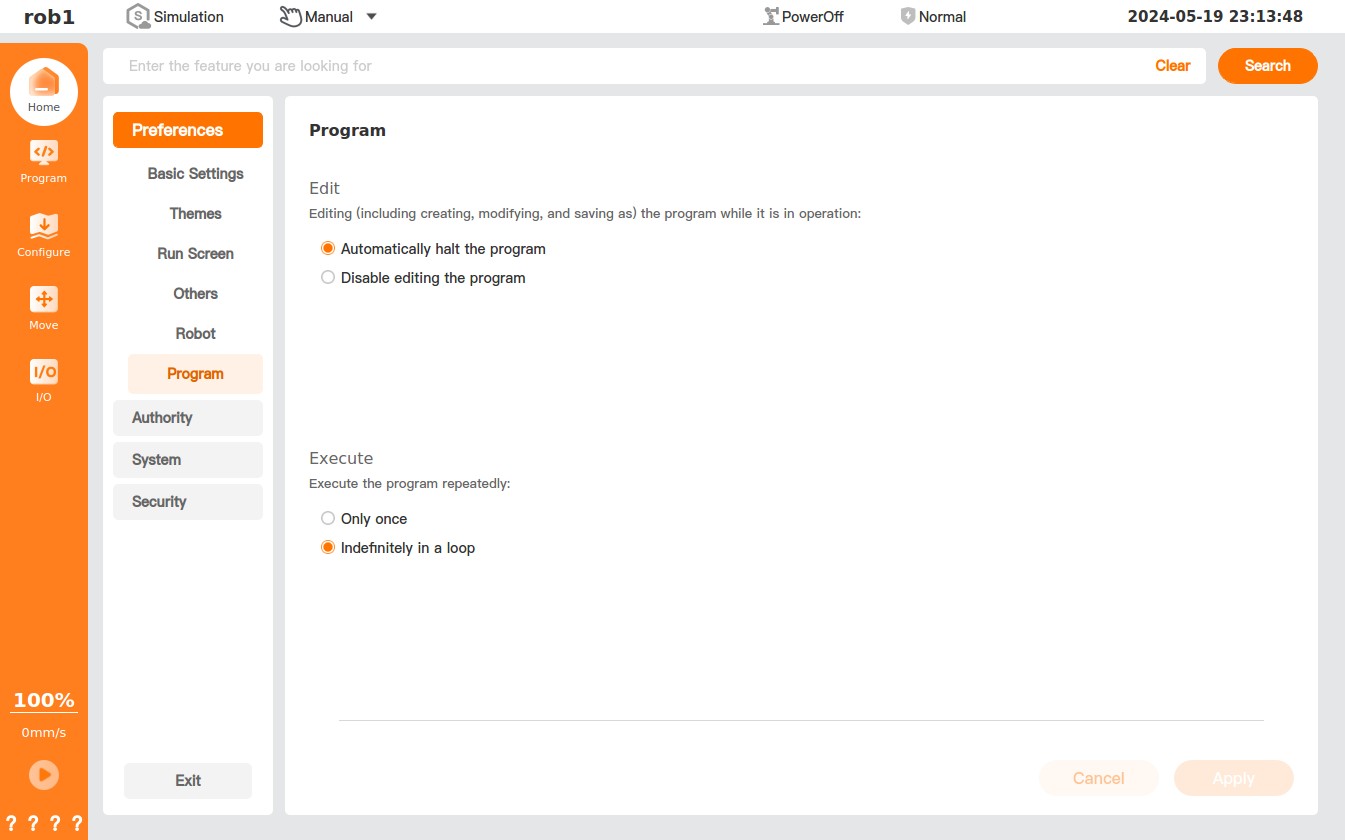
In the [Program] page, users can set the default configuration of the editing program.
New Program:
Select the run mode for the newly created program.
- Execute once only: The program automatically ends after executing from the first instruction line to the last instruction line, and will not repeat.
- Loop continuously: After executing the last instruction line, the program automatically jumps back to the first instruction line and repeats continuously until a stop command is received.
Edit Program:
Select the action taken on a running program when it is being edited.
- Stop the program automatically: When an edit operation is triggered, the running program immediately stops automatically and enters editing mode.
- Prohibit editing the program: While the program is running, the system locks the editing function, preventing create, modify, save as and other operations.
- Ask whether to stop the program: When an edit operation is triggered, the system pops up a confirmation dialog asking whether to stop the currently running program. Only after the user confirms the stop can editing mode be entered.
NavBar Android only
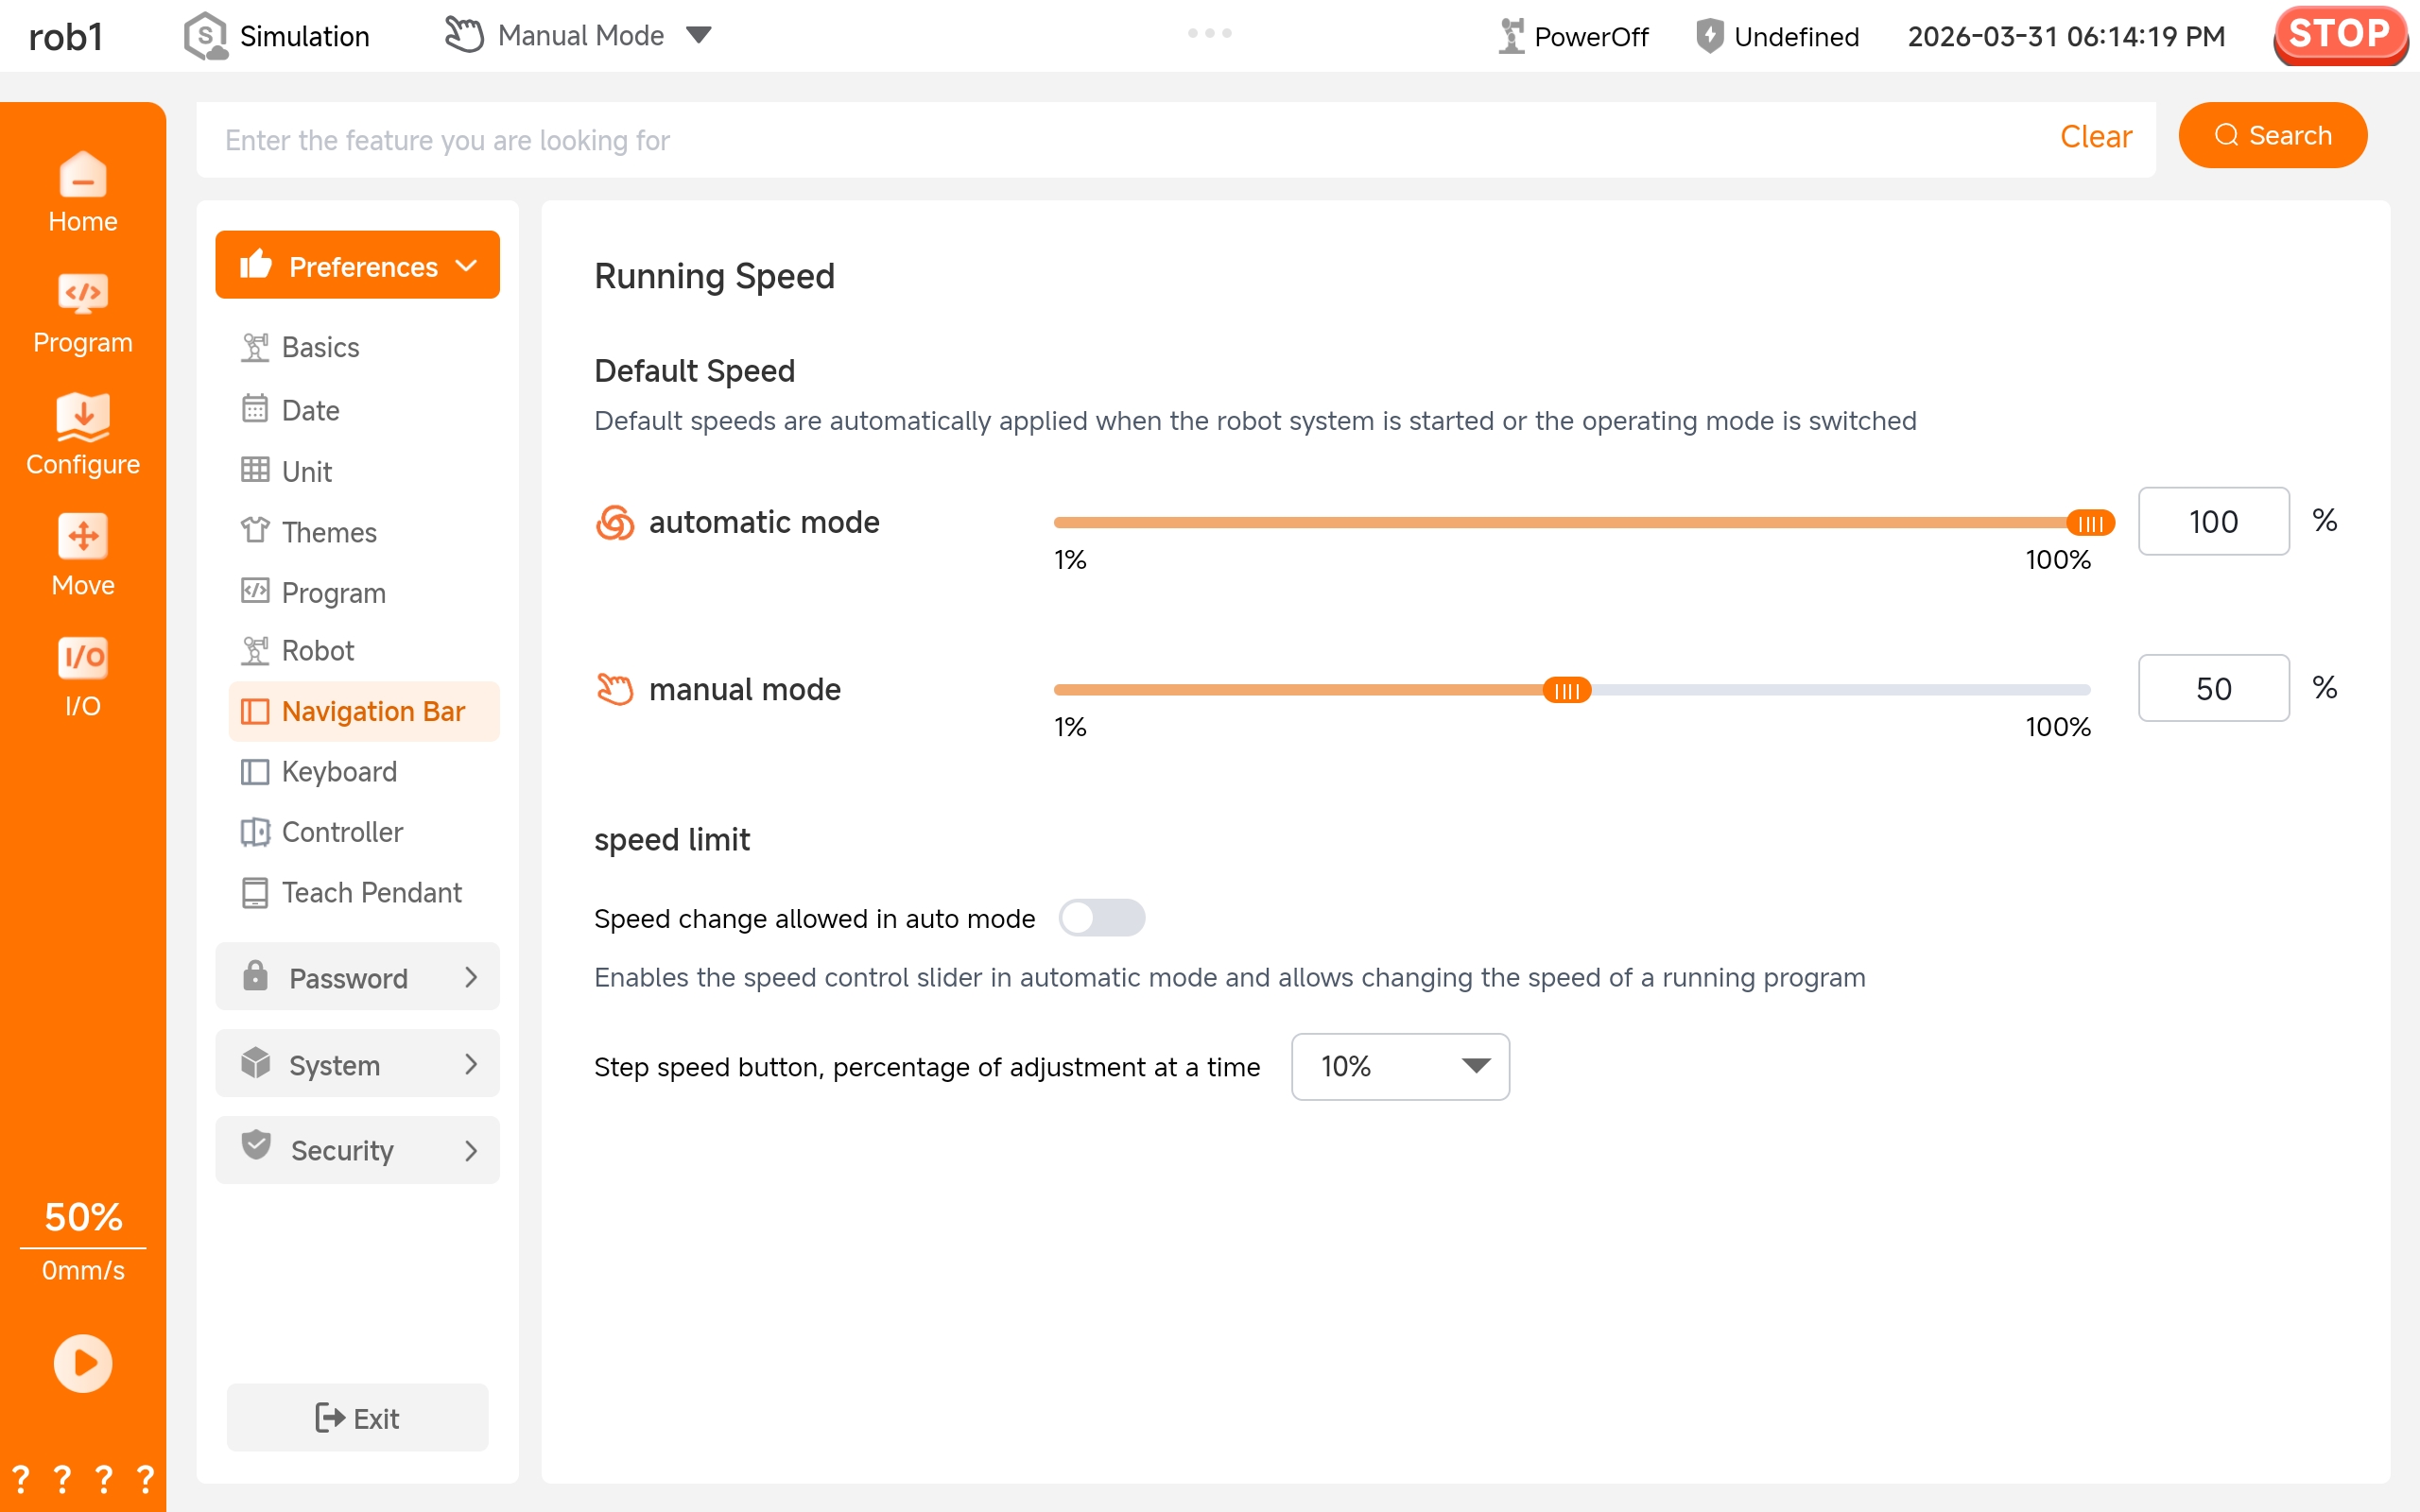
In the [NavBar], users can set the default running speed, enable/disable speed adjustment in automatic mode, and set the speed adjustment step.
Robot
The [Robot] function allows users to set a default running speed and limited HandGuide.
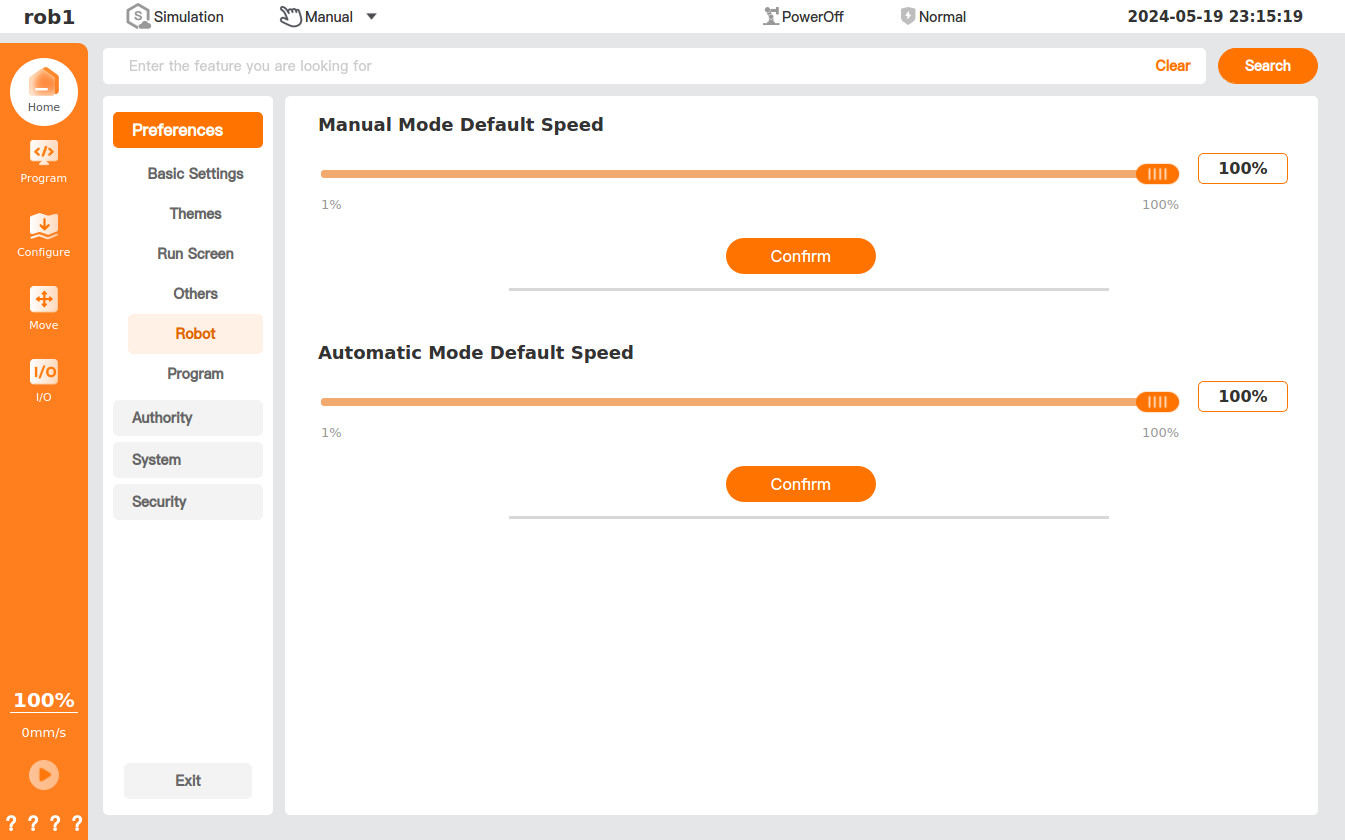
 : Drag the slider to set the robot's default speed, and click [Confirm] to apply the settings.
After enabling "Limited HandGuide," you can adjust the limits for HandGuide on the "Nove > HandGuide" page.
Info
For the AuboStudio Android version, the function to set the default running speed is moved to the [NavBar] page.
Controller teach pendant only
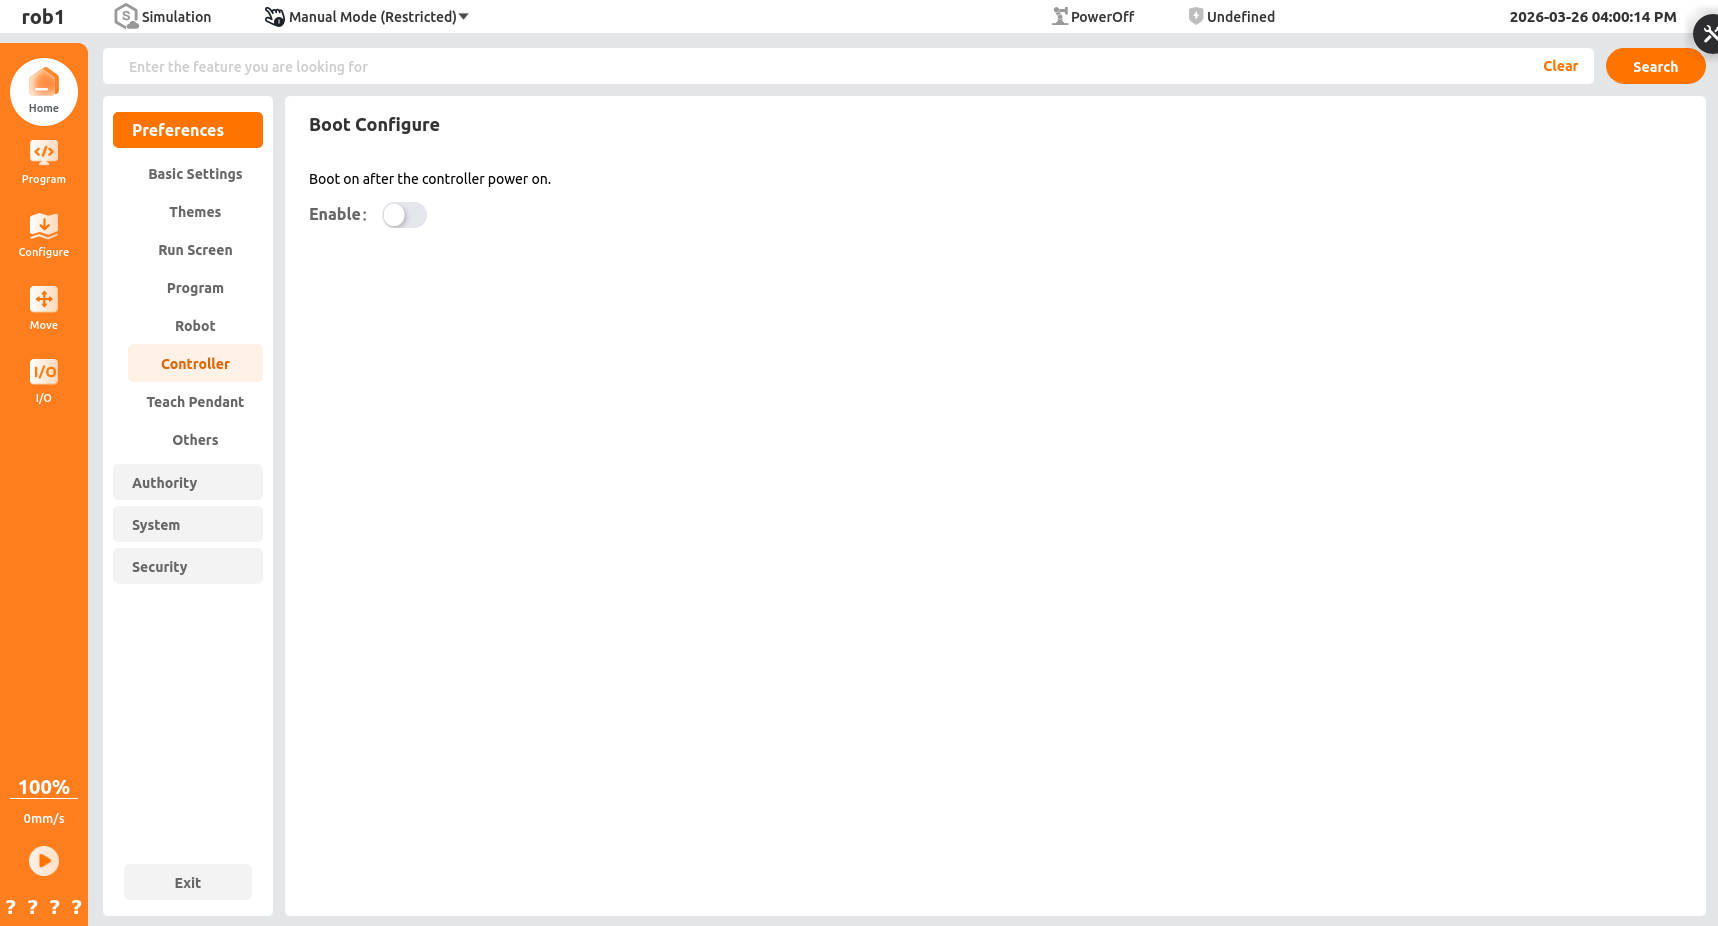
The [Controller] function allows users to set for automatic system startup upon power-on of the robot control box.
Teach pendant
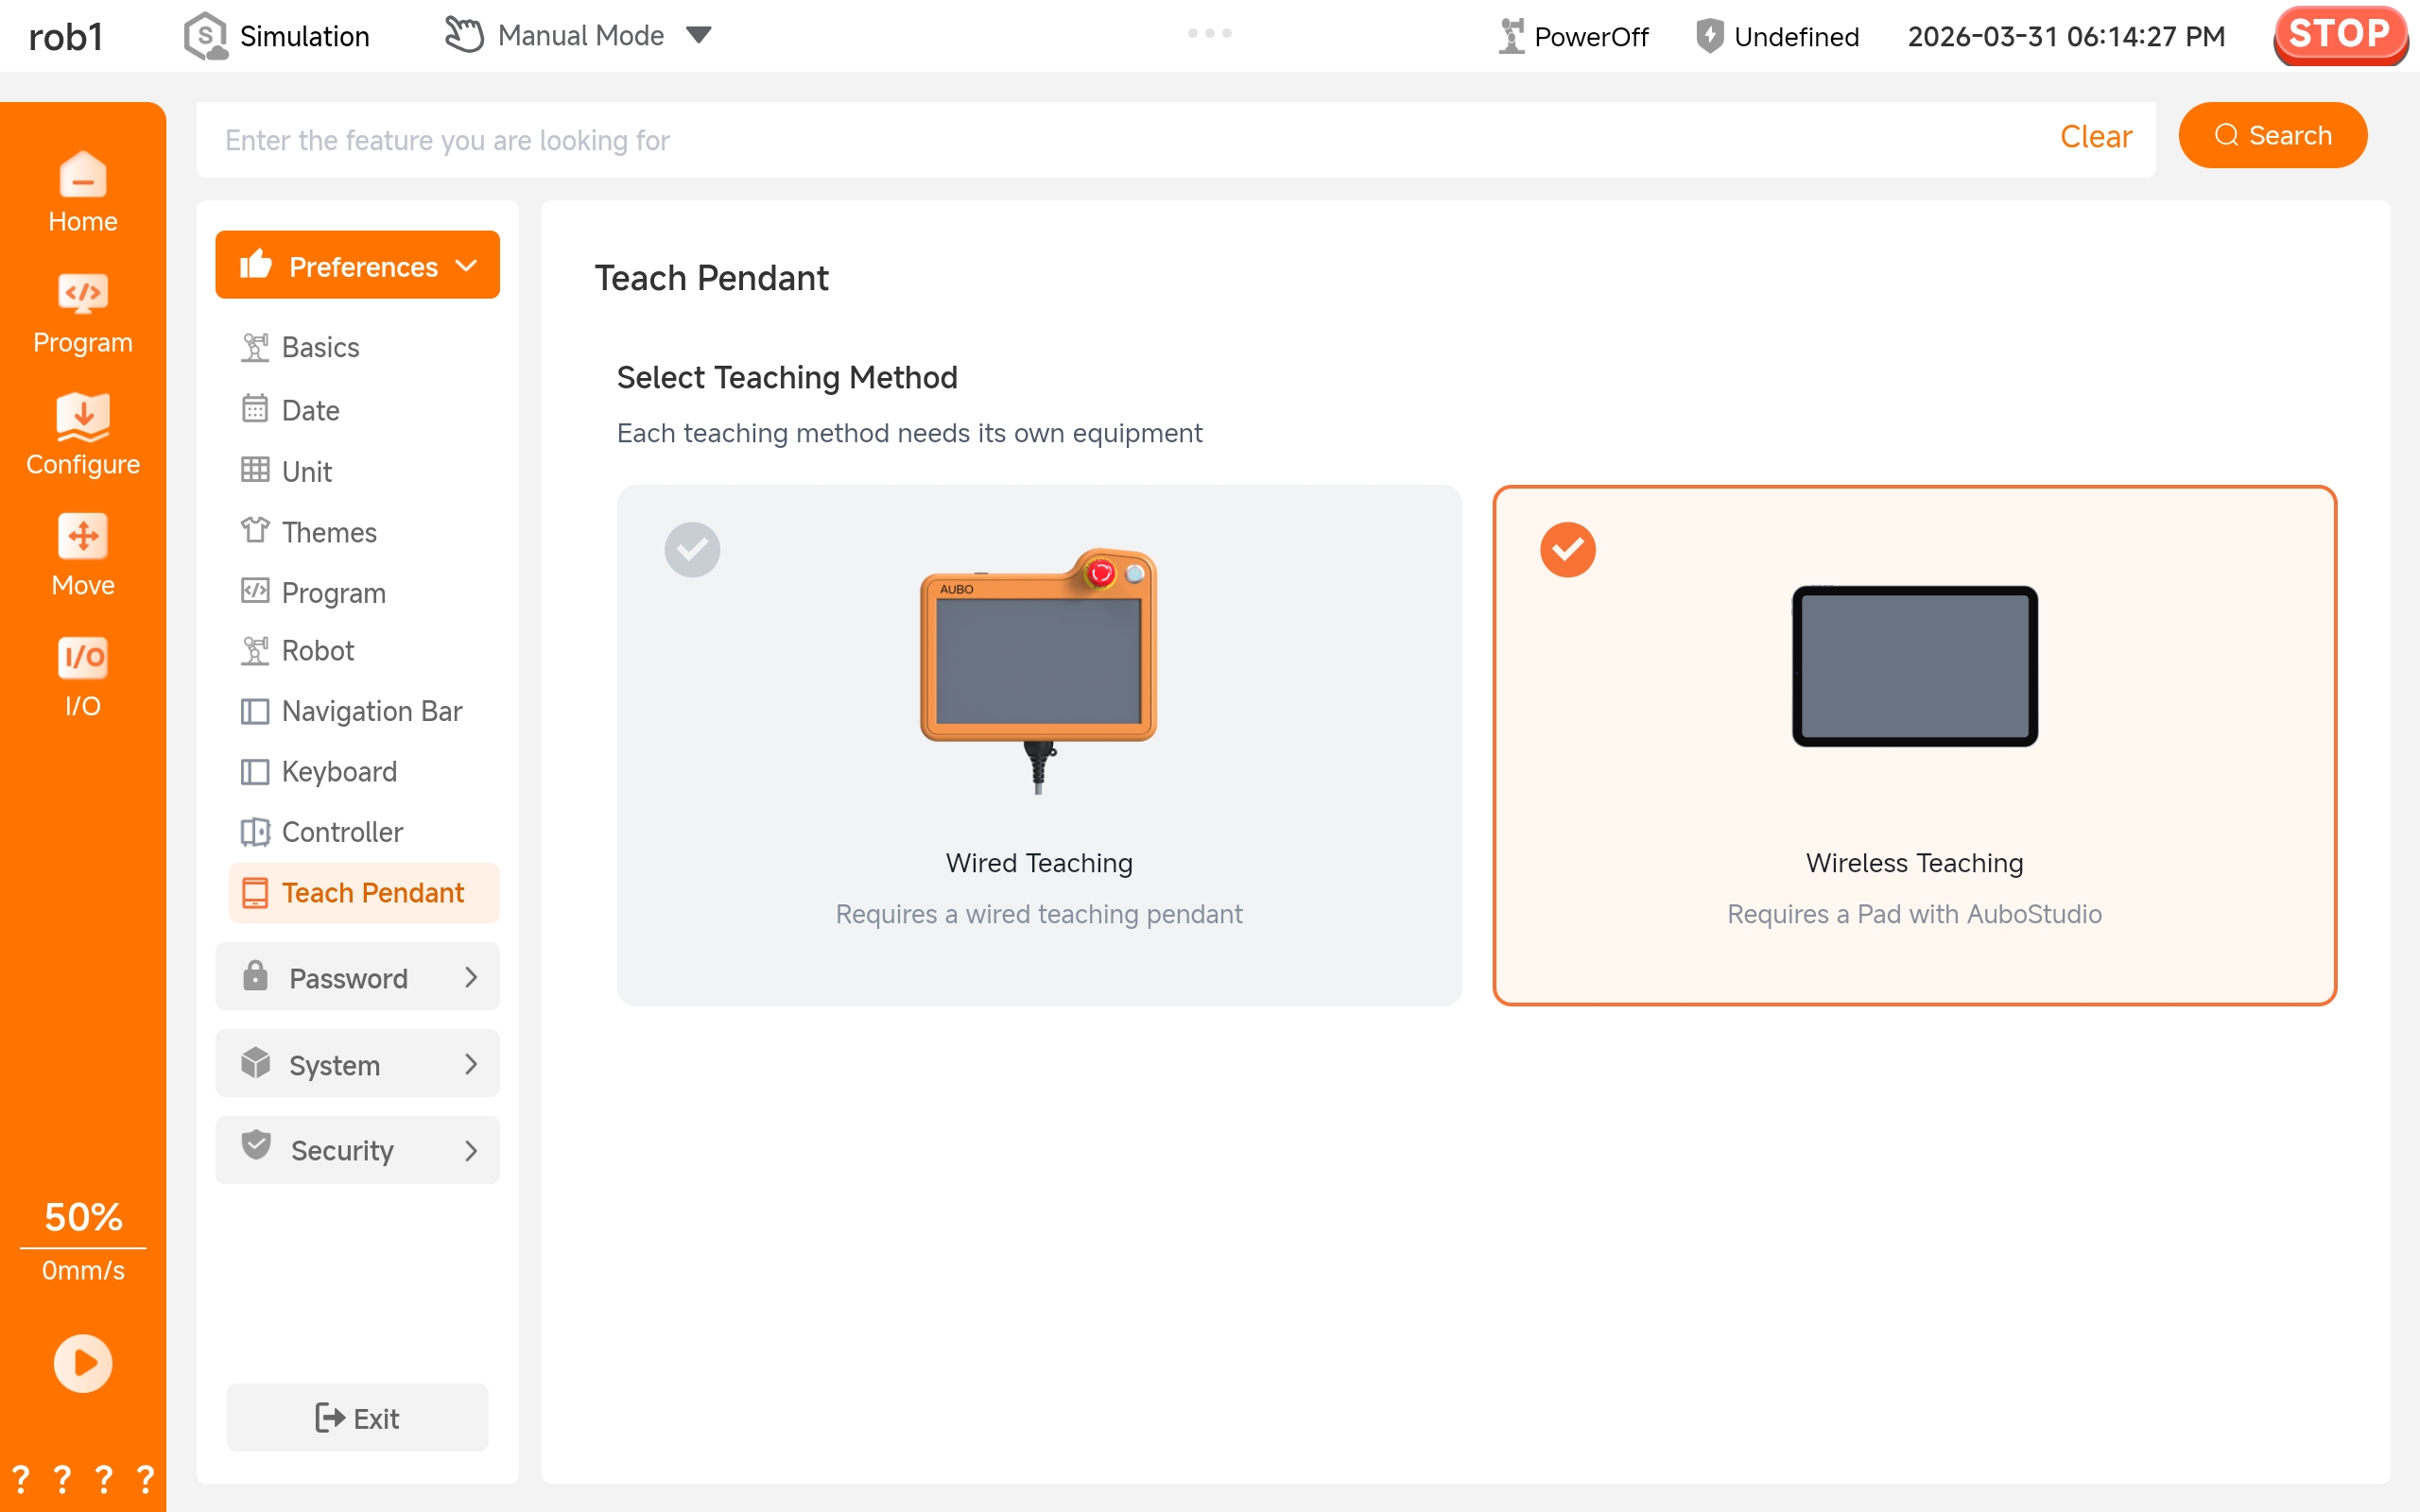
The [Teach Pendant] function allows users to set the teaching methods for the robot. Different teaching methods require different equipment.
Others teach pendant only
In the [Others] page, users can set the screen lock function and calibrate the touch screen.
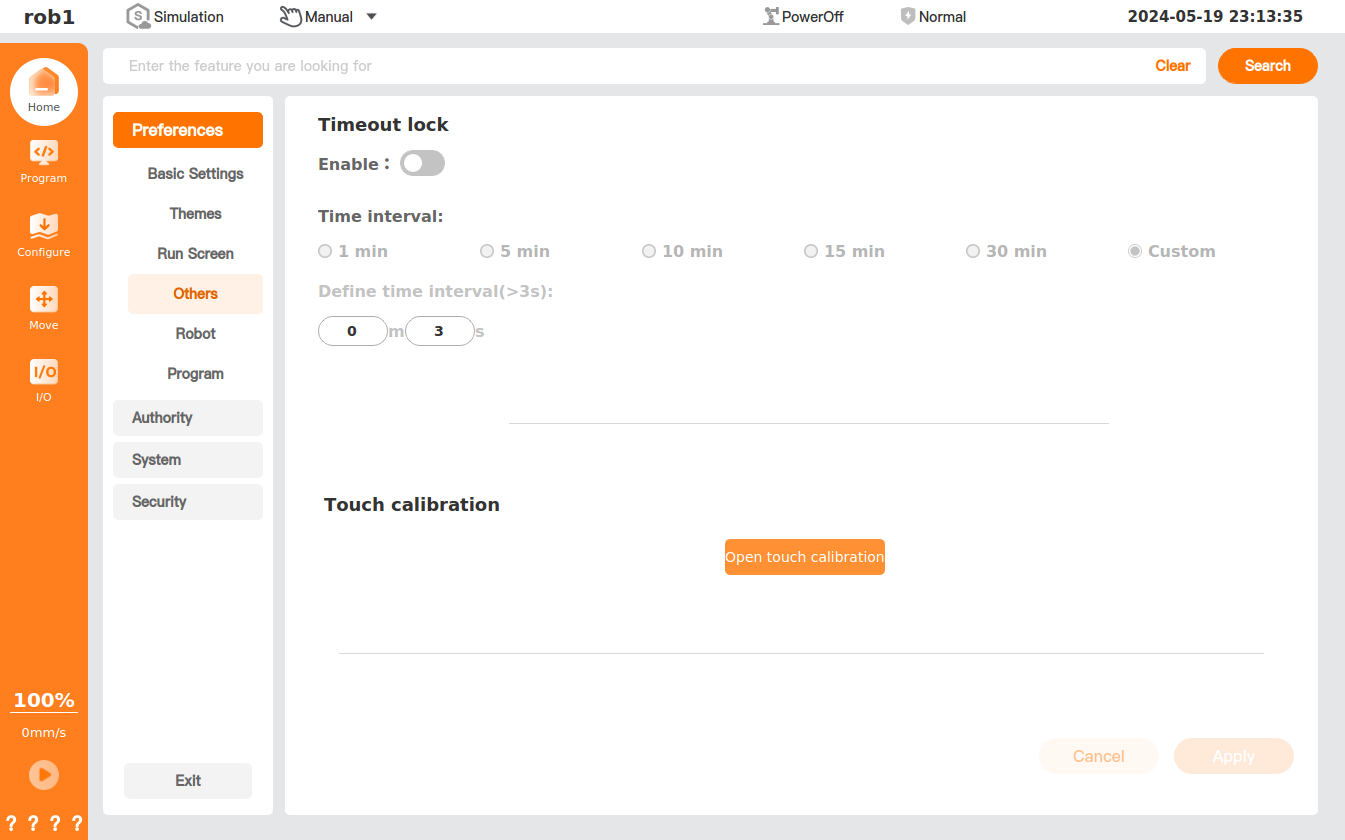
Timeout lock:
- Enable: Enable/disable the "timeout lock" function.
- Time interval: After turning on the "timeout lock" function, set the time interval for which the screen is not operated, and click [Apply] to save and enable the settings.
- Enable
Touch calibration: Calibrate the teach pendant screen.
Touch calibration steps
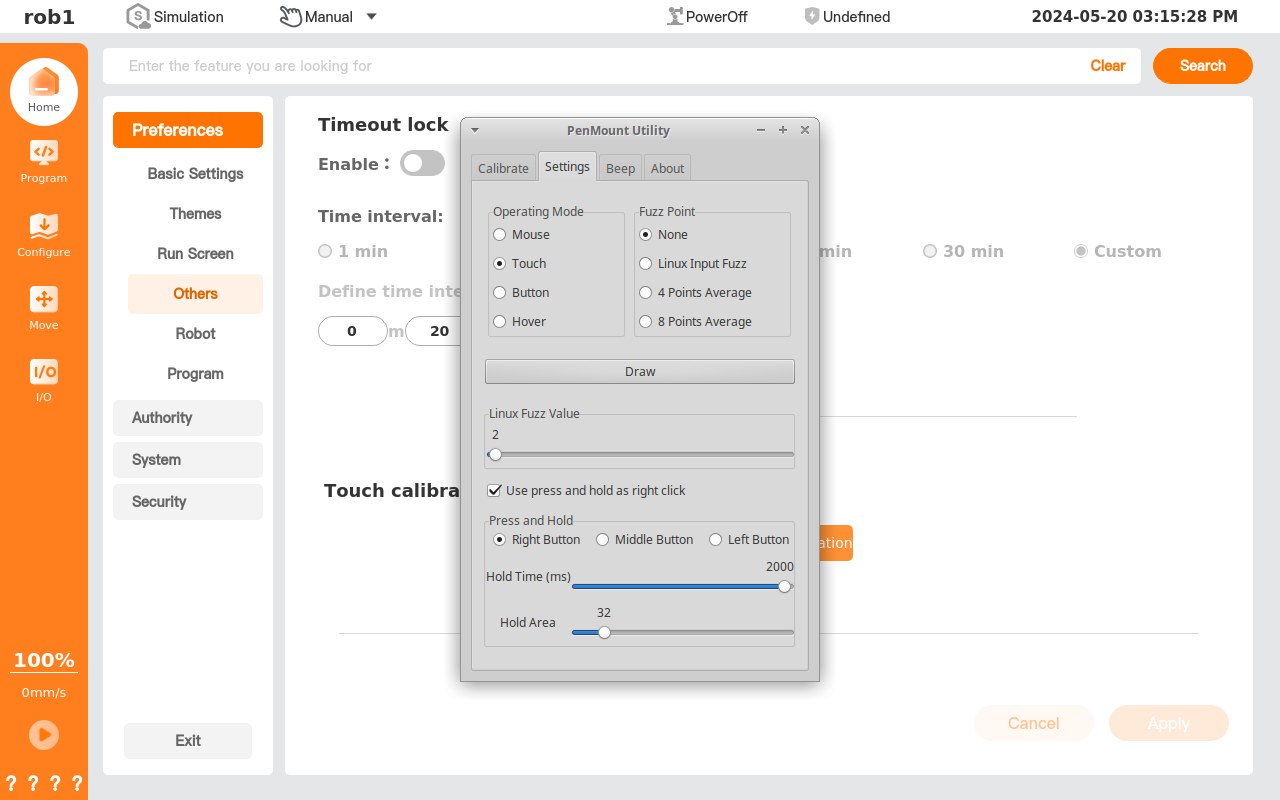
Click [Open touch calibration] to pop up the touch calibration software window. Click the "Settings" tab and select "Touch" in "Operation Mode."
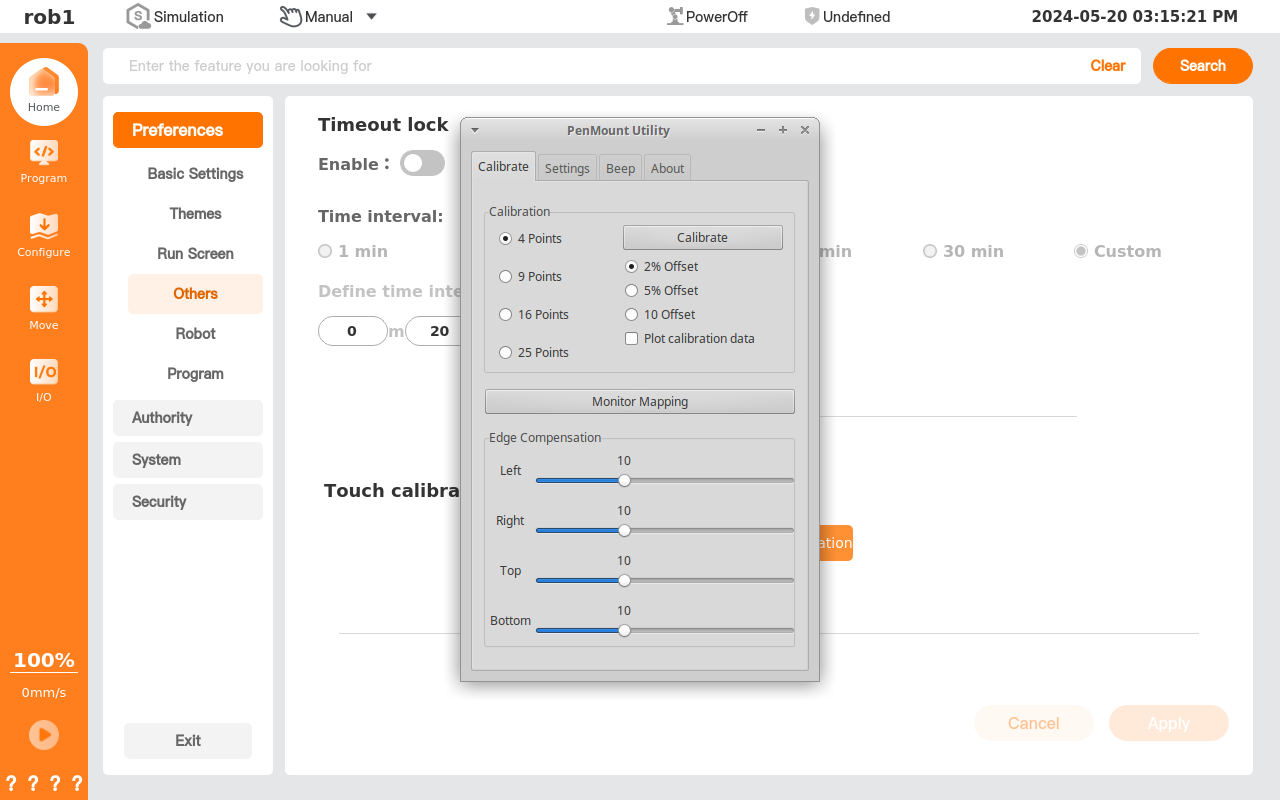
Click "Calibrate" and select the number of test points in "Calibration." At present, there are four options: 4, 9, 16, and 25. The more points, the more accurate the touch calibration. It is recommended to use 4 or 9 points.
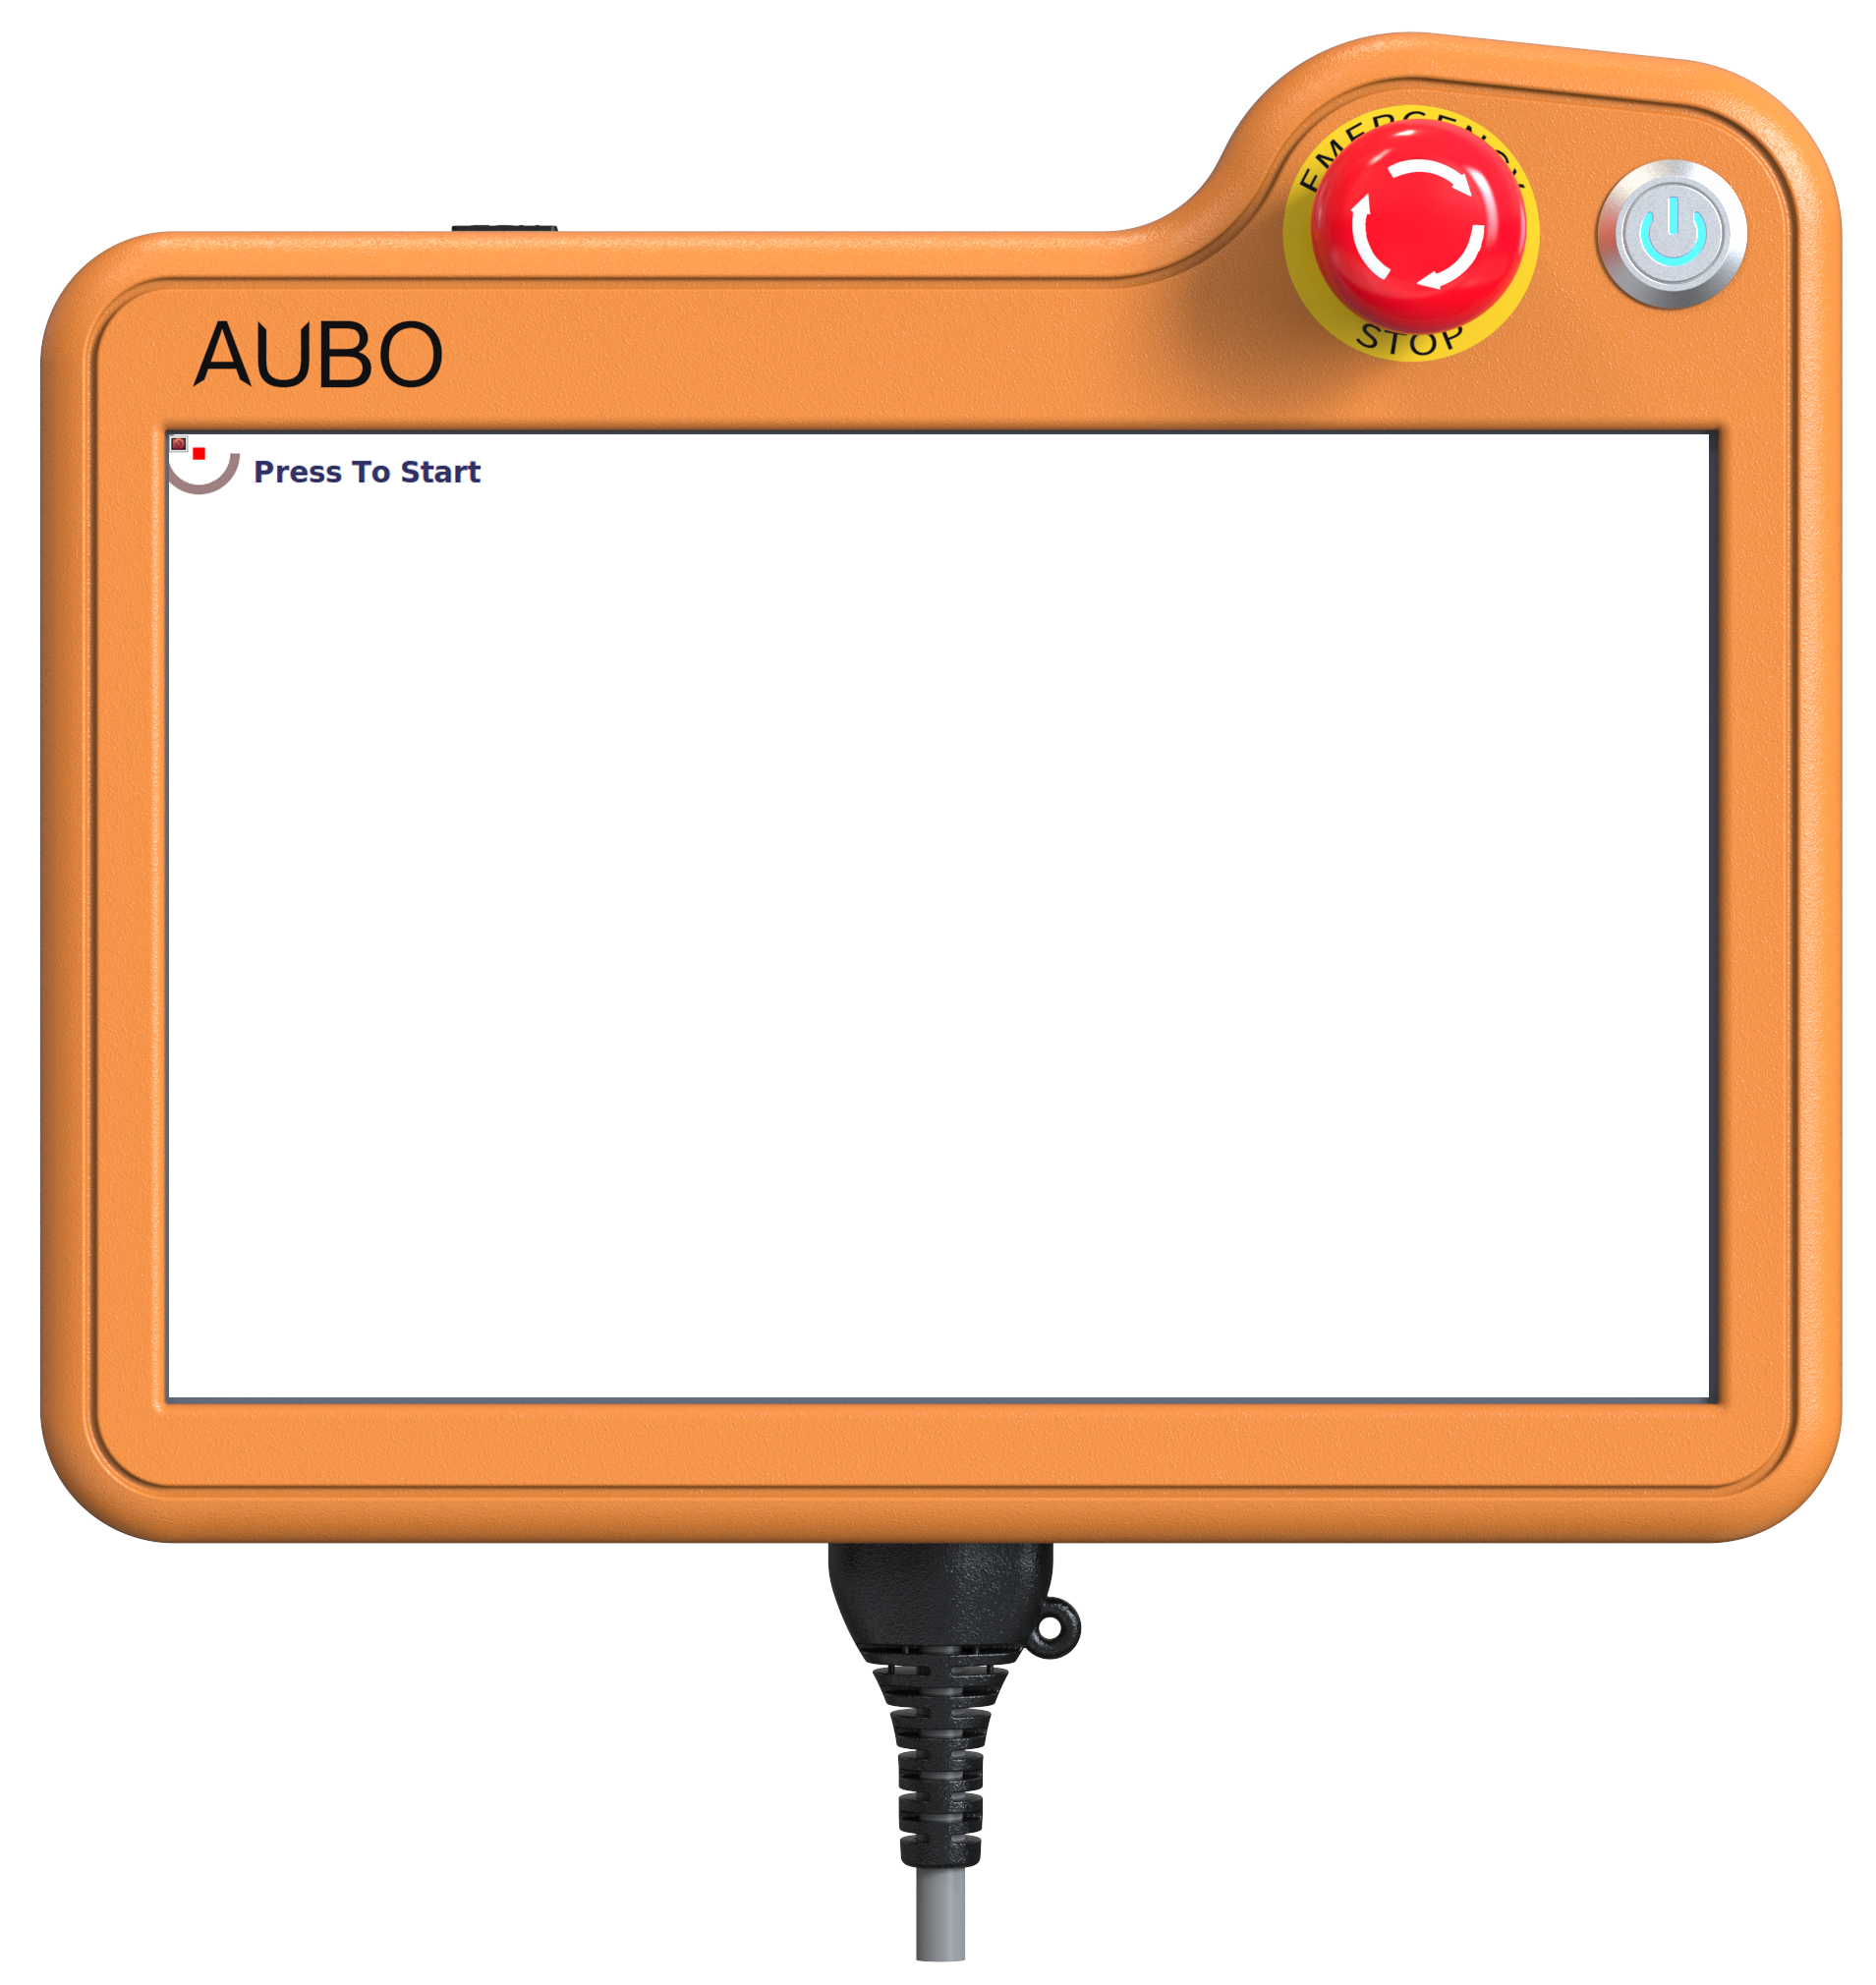
Click [Calibrate] to enter the calibration page, and follow the prompts to complete the touch calibration.
Close the touch calibration software after the touch calibration is completed.